This work in progress is 99% Inkscape and 1% Synfig, but I wanted to share a learning experience, and an interesting workflow, taking advantage of Inkscape.
When you import an Inkscape SVG in Synfig, the “Move/Scale coordinate handle” of every object ends up very far, about 1 page below and to the right. I still don’t know how to prevent this.
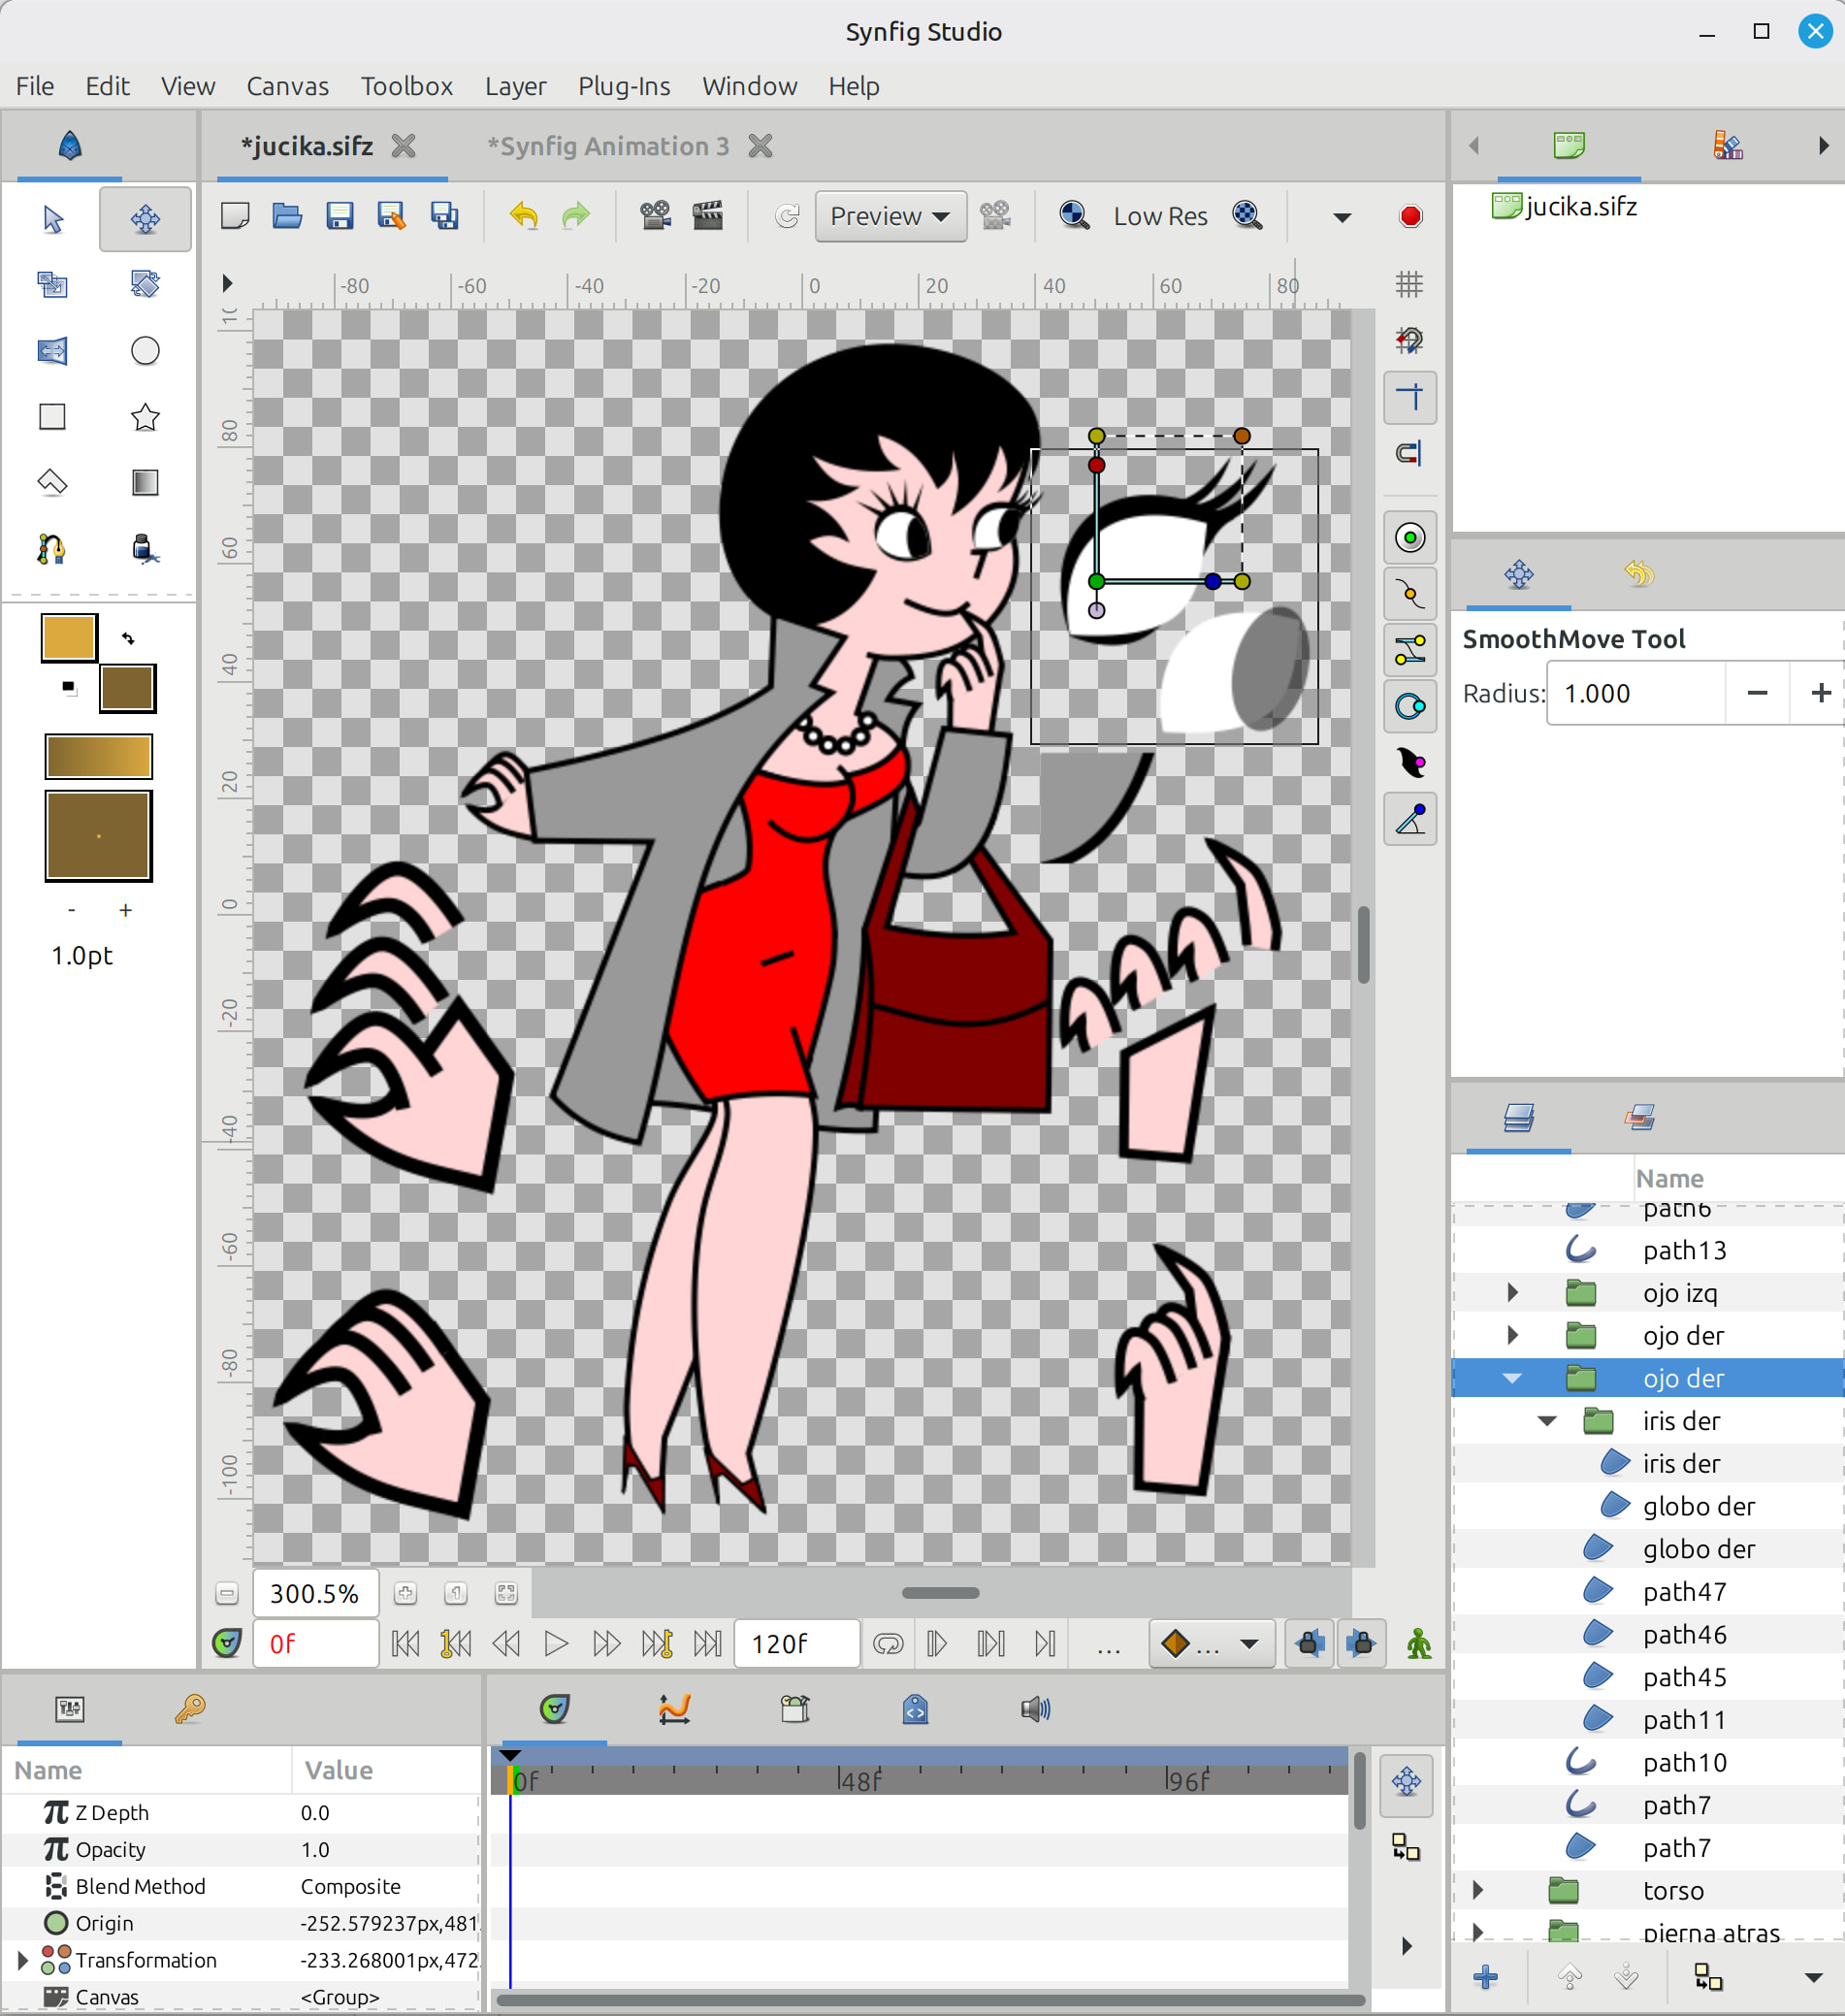
Groups in Inkscape, remain as groups when imported in Synfig. The groups also retain the names of your choosing. But the individual paths and fills do not retain the names. This can help in the bone linking phase.
If you use “clipping” in Inkscape. The effect will not transfer to Synfig and the paths will end up un-clipped. You need to redo the clipping with blending modes, as shown in: https://www.youtube.com/watch?v=YgcLUHA-2JM. Then look at how I did the eyes irises.
Fingers and limbs are not that hard in Inkscape, and the work will transfer to Synfig. In Inkscape, you can make filled paths with a black outline, leave the curve open and it will appear to have an “un-edged” side, which will make the colored areas appear to join together
I just learnt that I can do the “invisible edge” technique in Synfig too. Next time I will try doing this work in Synfig… because relocating the origin of the scale/move axis might become unmanageable for many objects. On the other hand, I used Inkscape path effects to do the eyelashes and pearl necklace (and in general all the repetitive shapes).
I know, but it is not that easy. First it would be “Alpha” blending mode. Then we need to read/study the SVG 1.1 and 2.0 specs about it, implement how to parse clipping paths, how to apply this effect for each case, check all (or the most important or used) XML attributes they case, check for corner cases or malformed SVGs (usually by manually created ones) to avoid crashing or freezing when loading SVG, check if Inkscape does something different/exotic/custom about it on saving a file with clip-path, etc. It is a whole new feature not implemented in the importer before, so it is a lot of work/care to do so.
Anyway, I’m currently implementing a draft for clipping support.
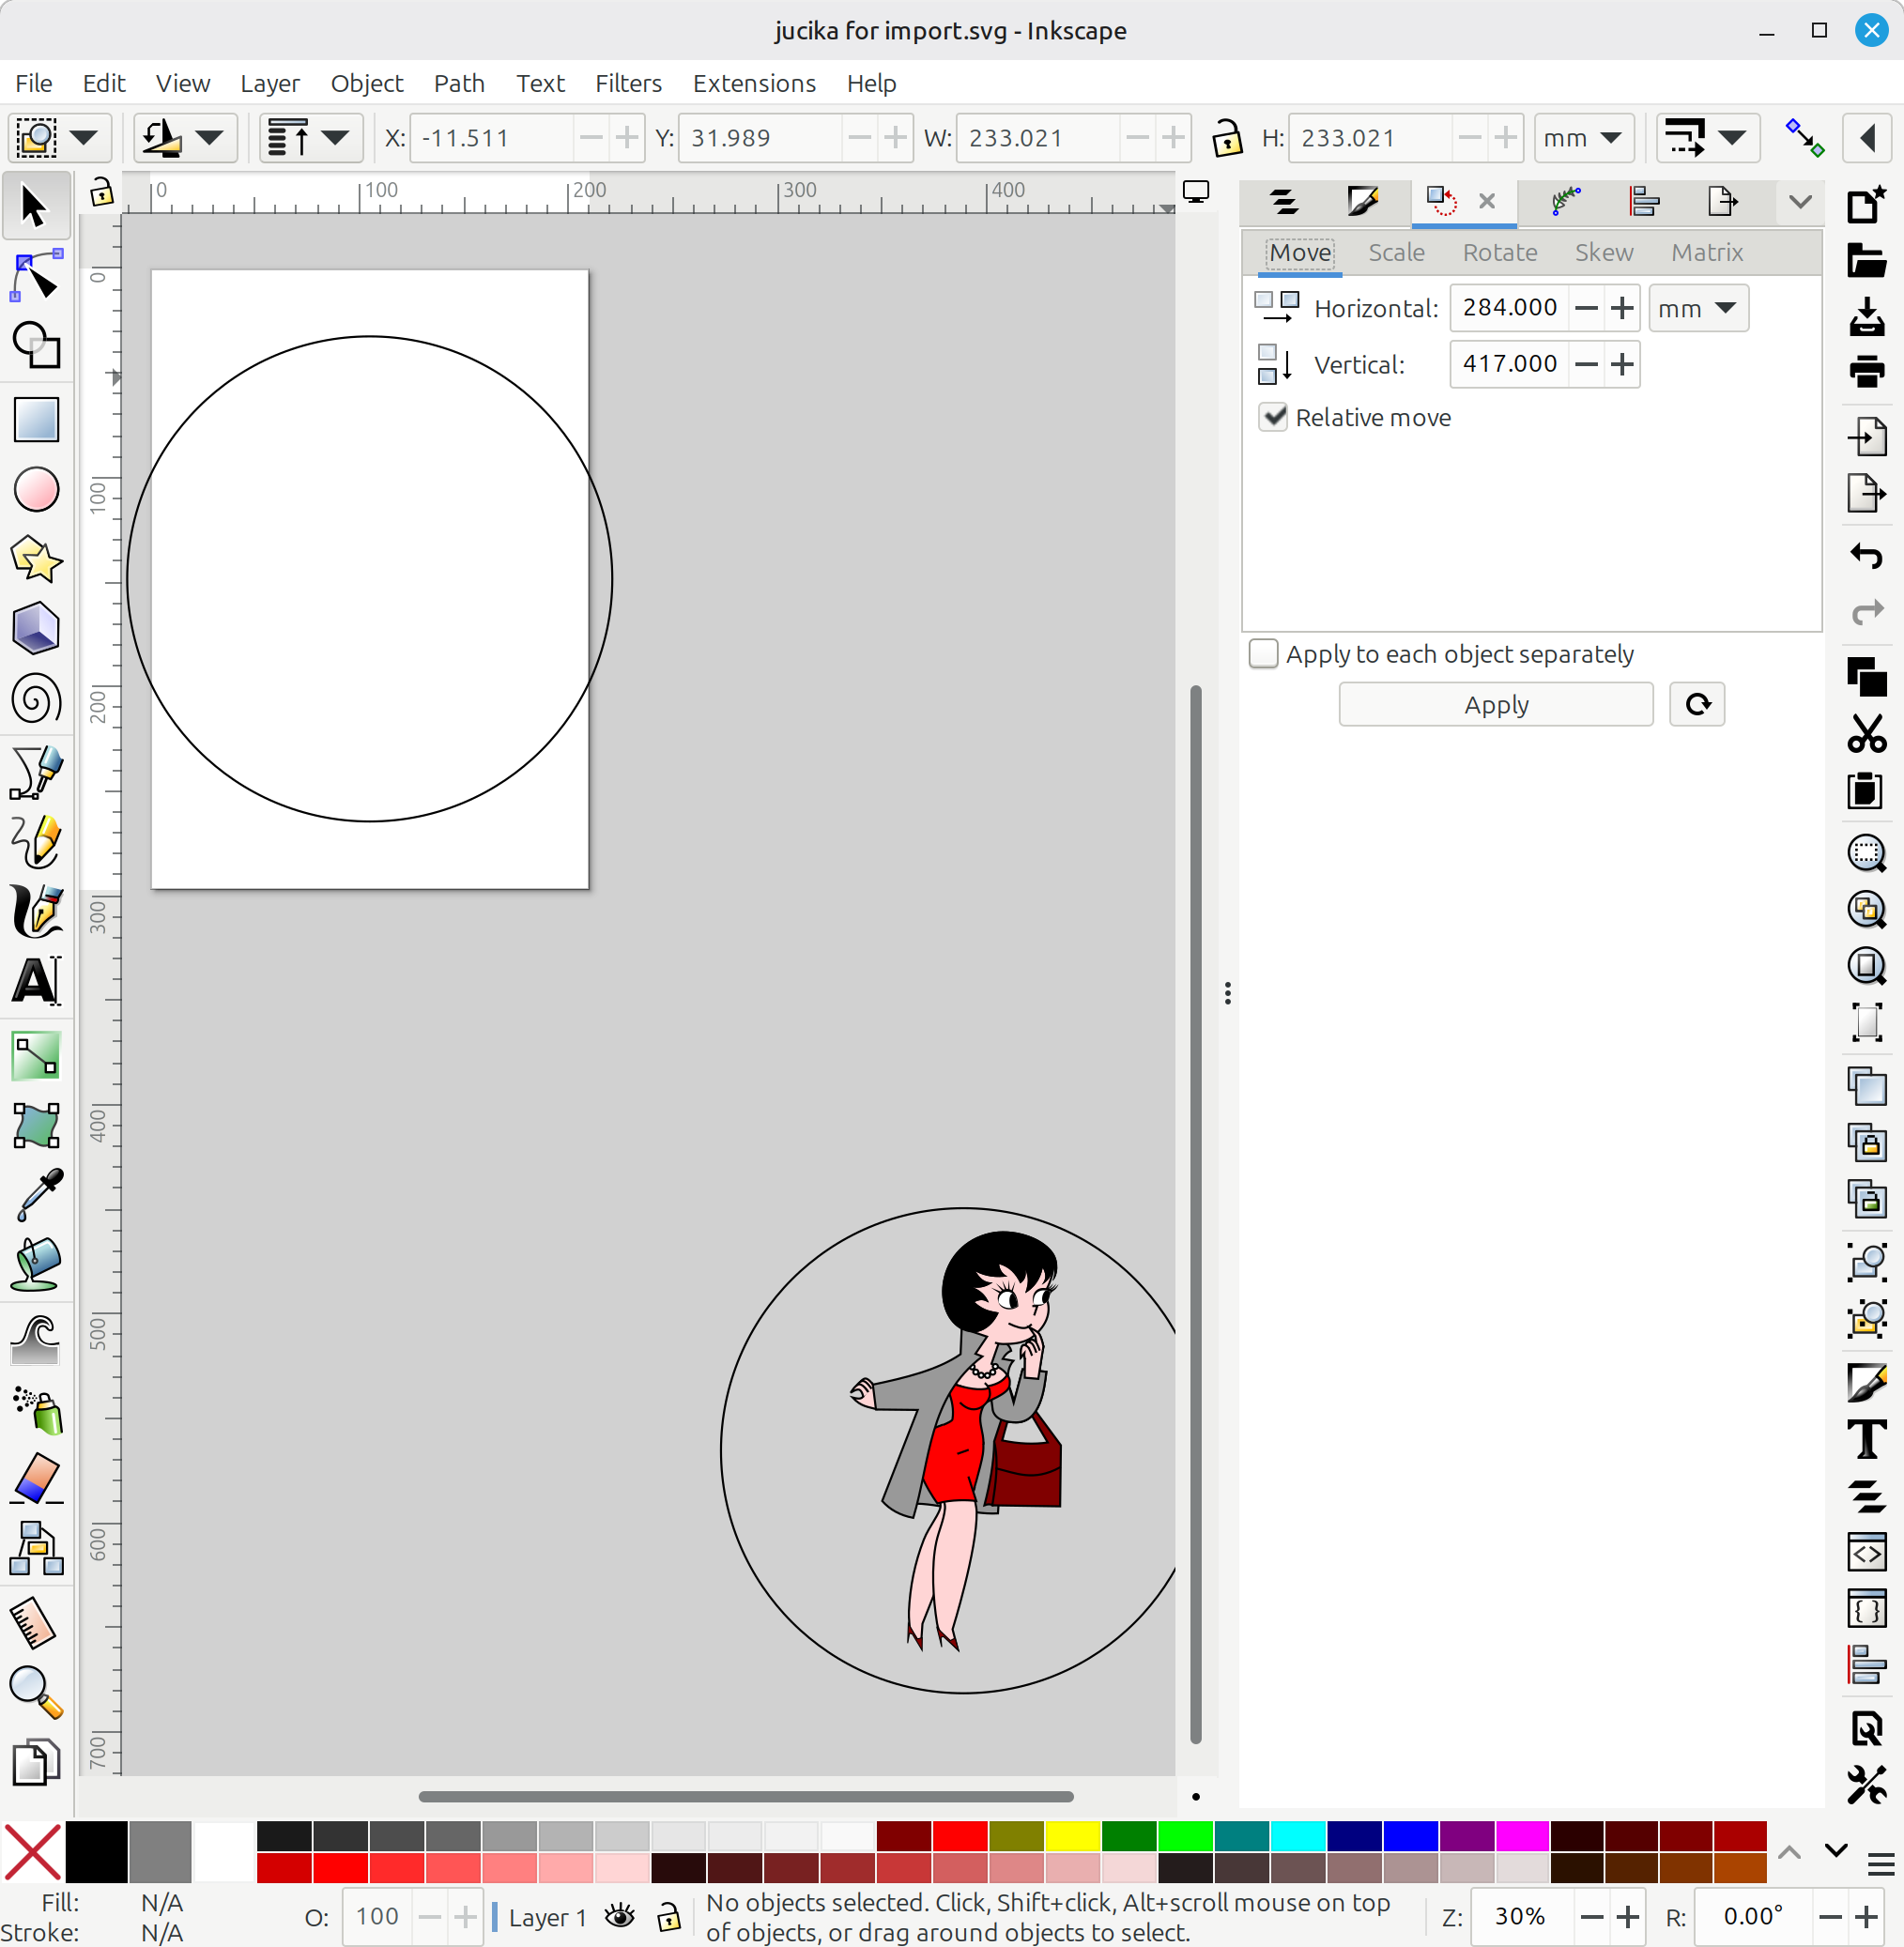
I already know how to place the image object in the center of the canvas. Just open the file in Inkscape, edit the document properties, change the size for example to Full HD, and set the scale to 1. Then, on the main screen, move your image object to the center. You can watch the tutorial on YouTube: https://youtu.be/8QSYF6U6rk4
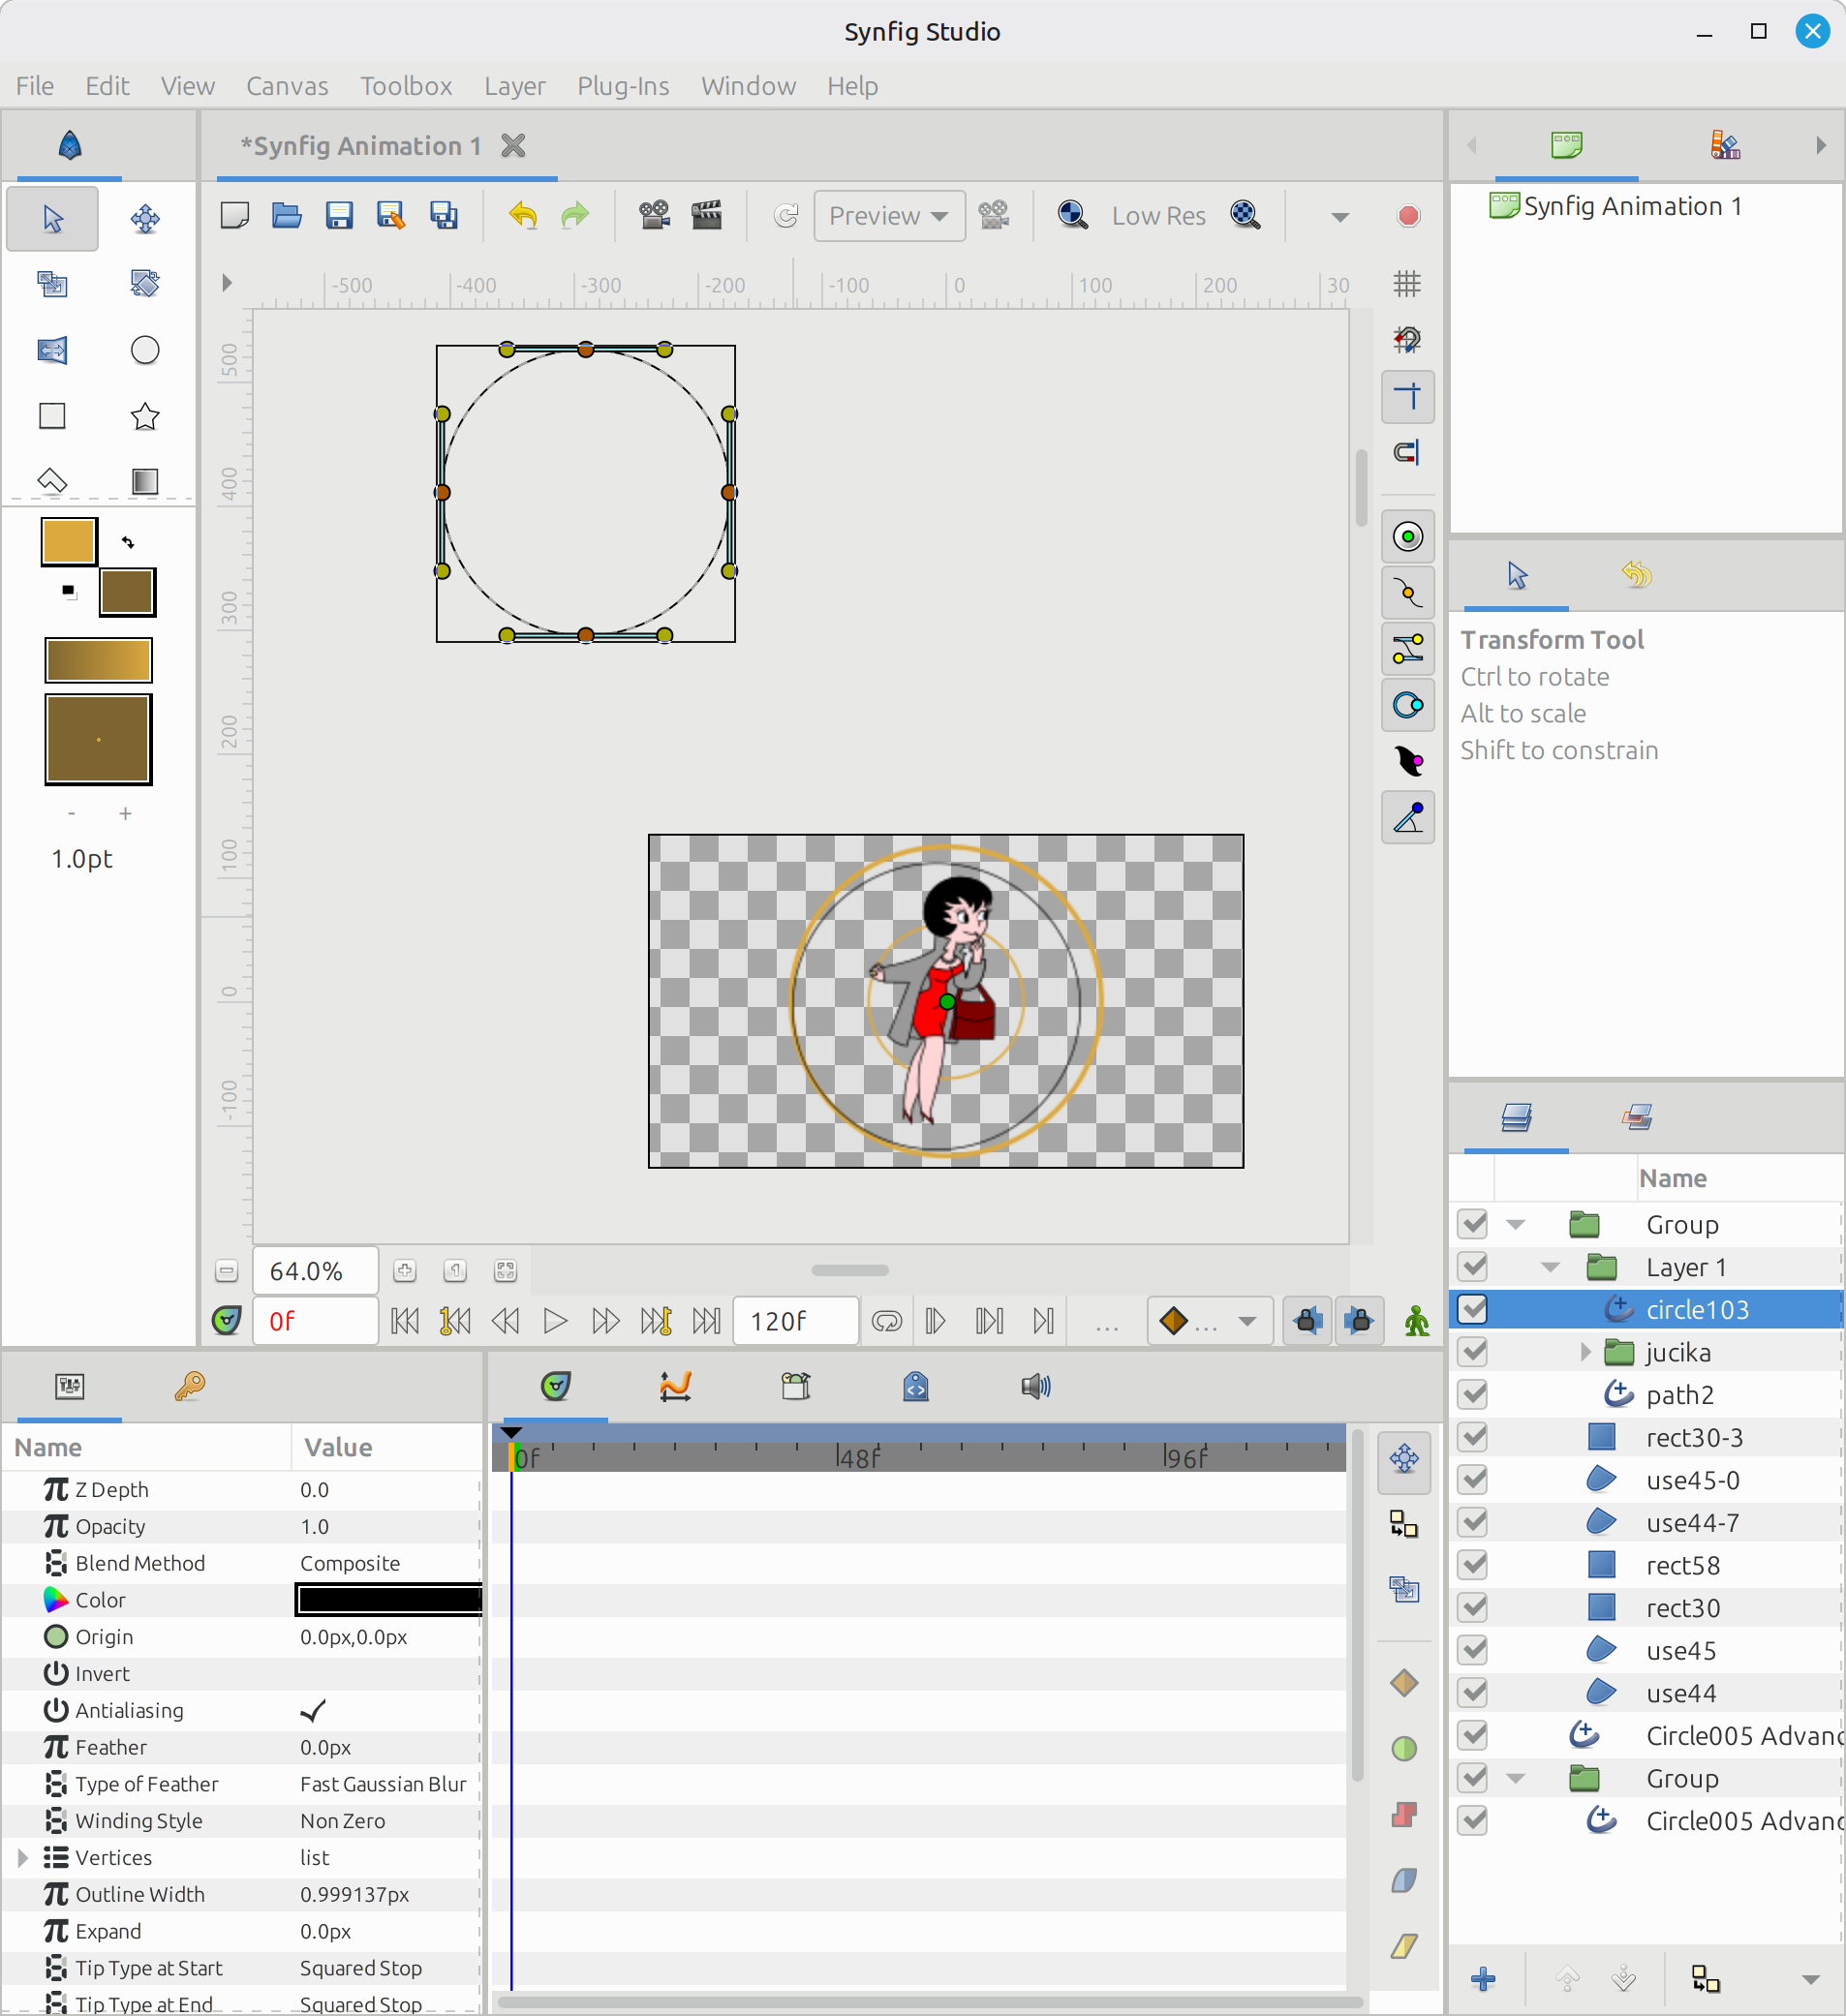
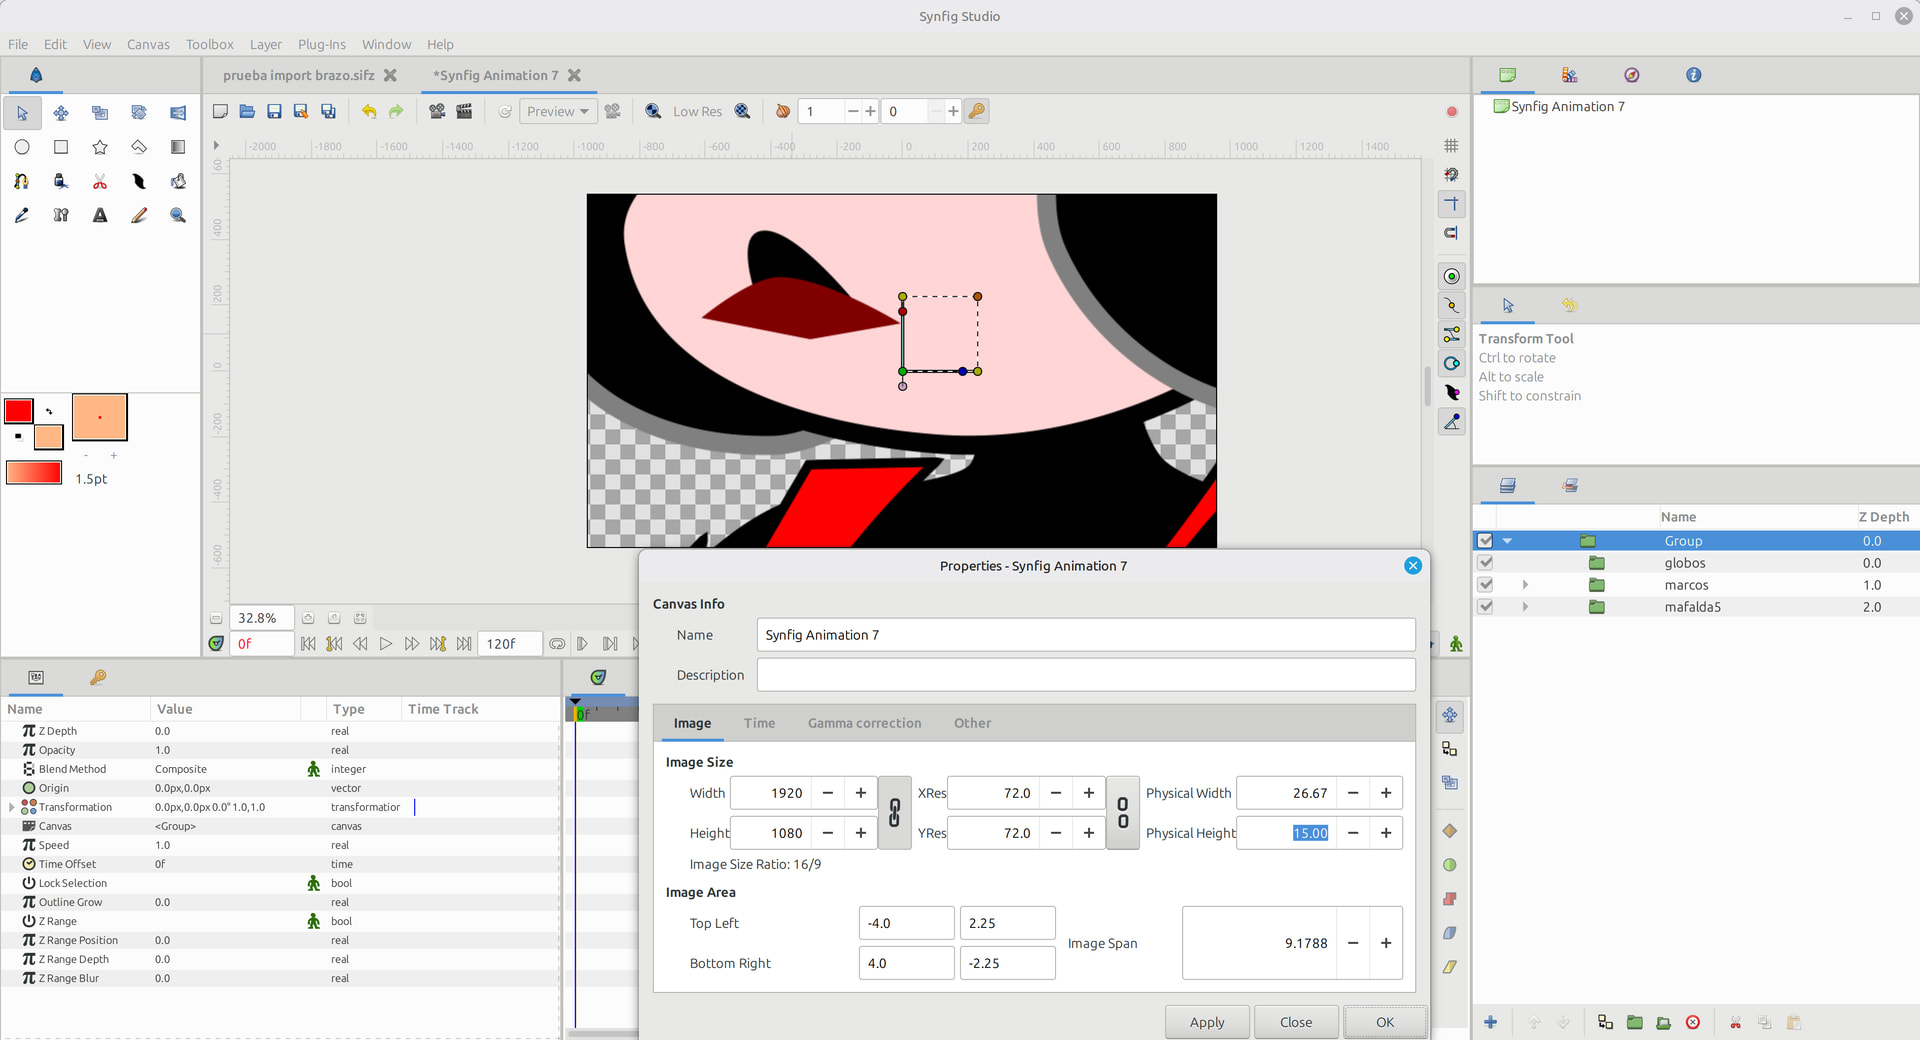
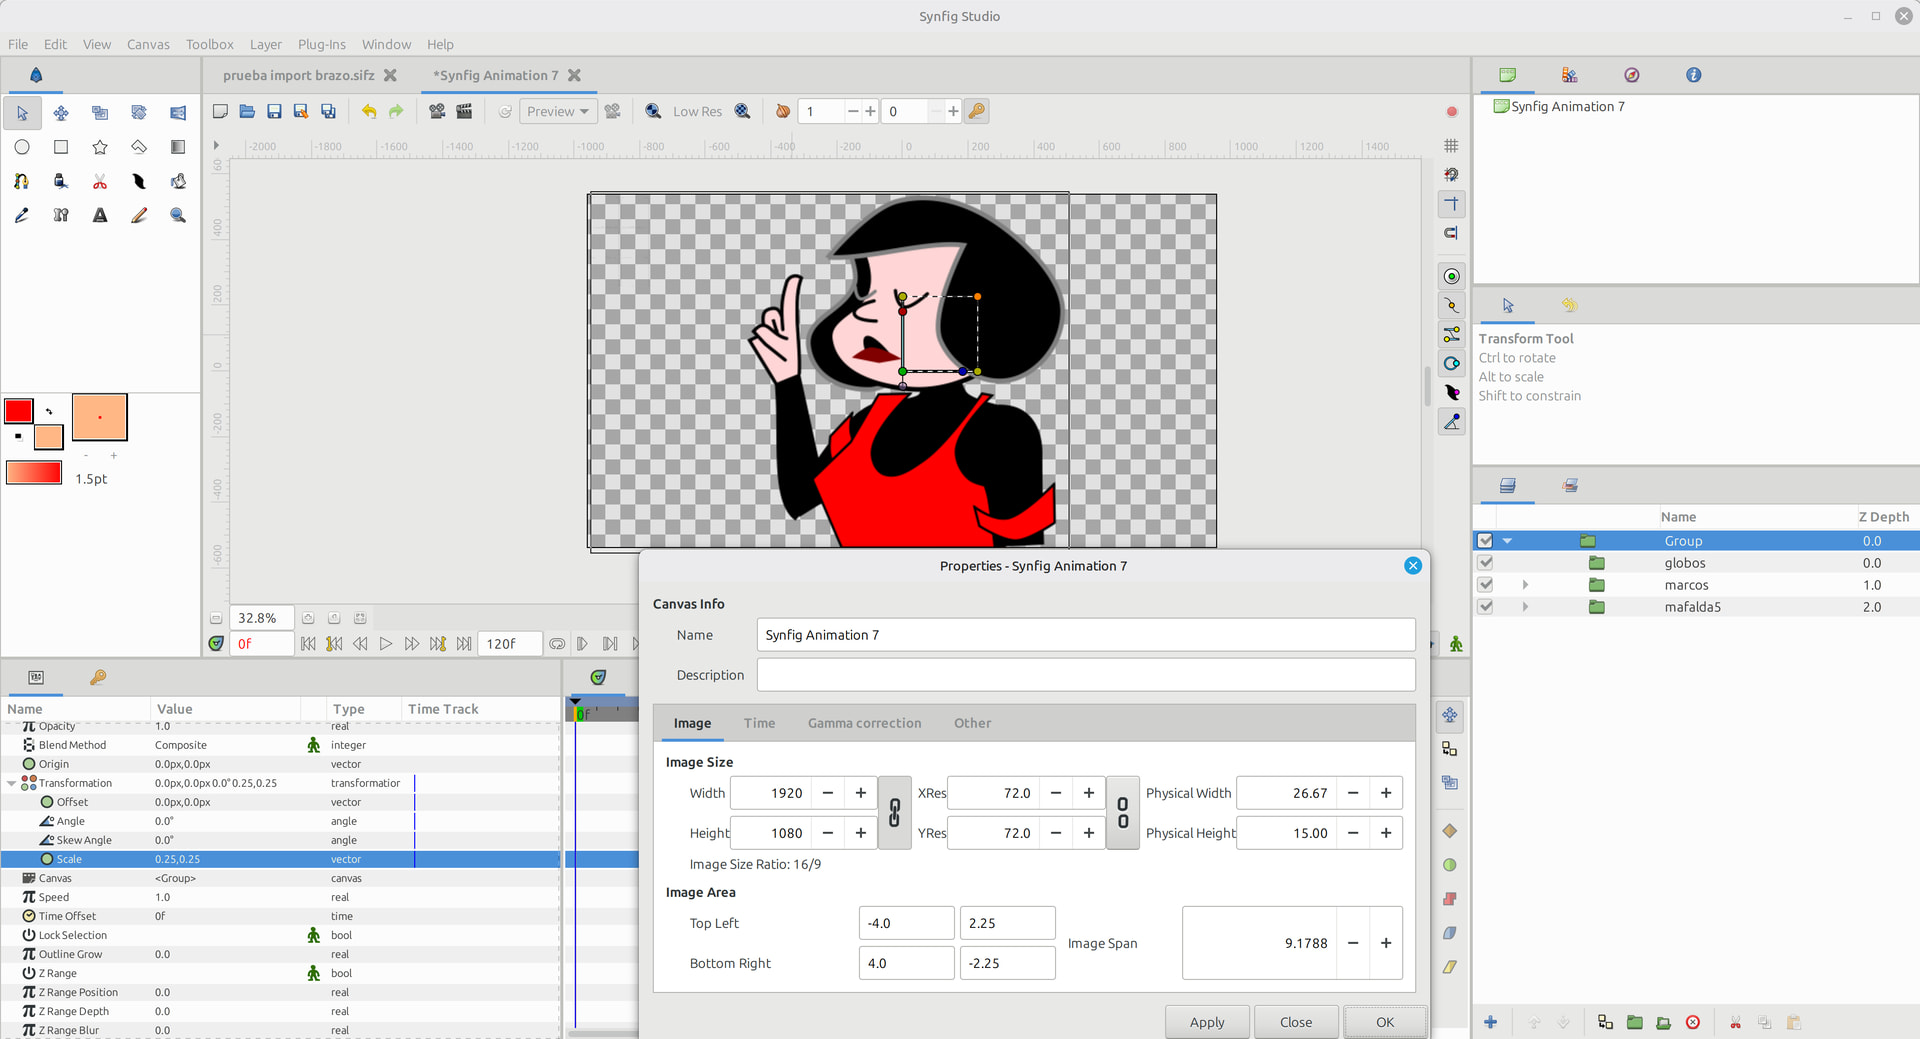
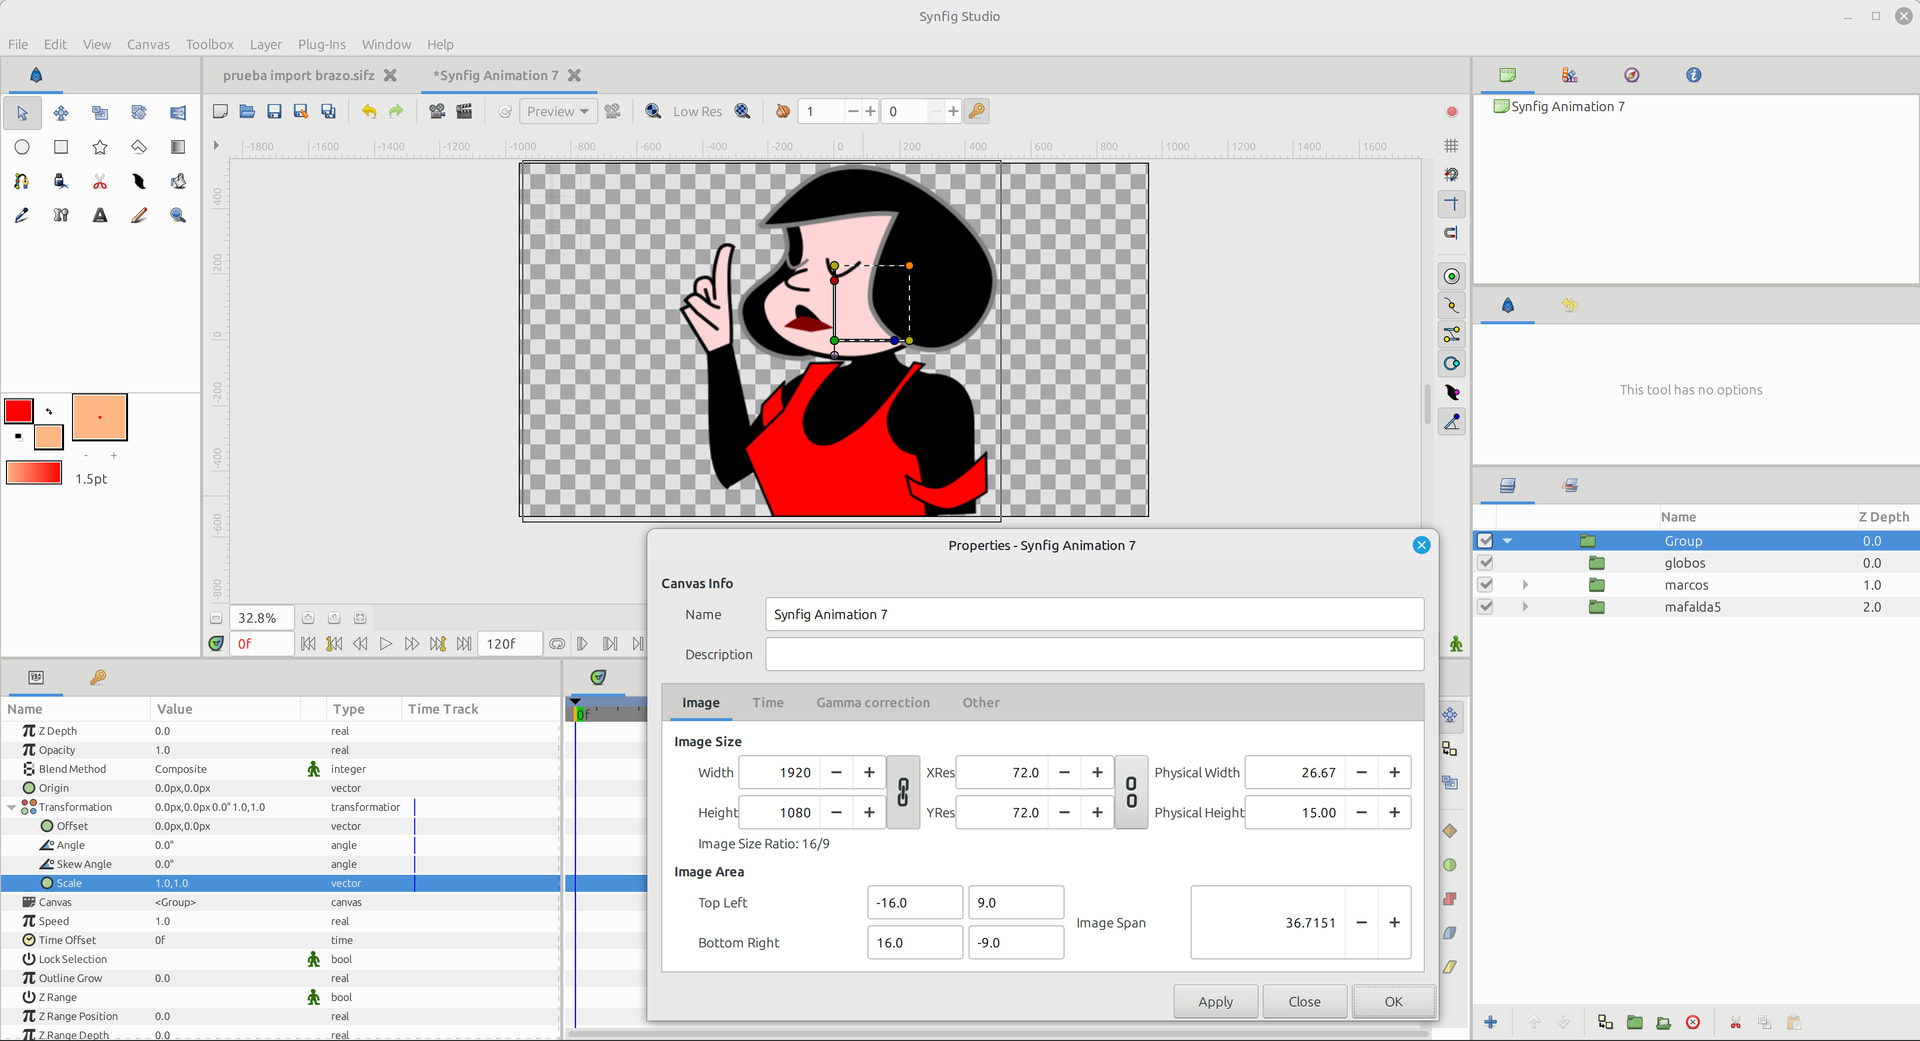
I could scale everything in a group, but I need to import everything in the correct size without group scaling.
In my process, I would import all the Inkscape SVG document, then move the sub parts outside the group. If the whole design was fixed with group scaling, each part would lose that scaling, when I separate it from the group.
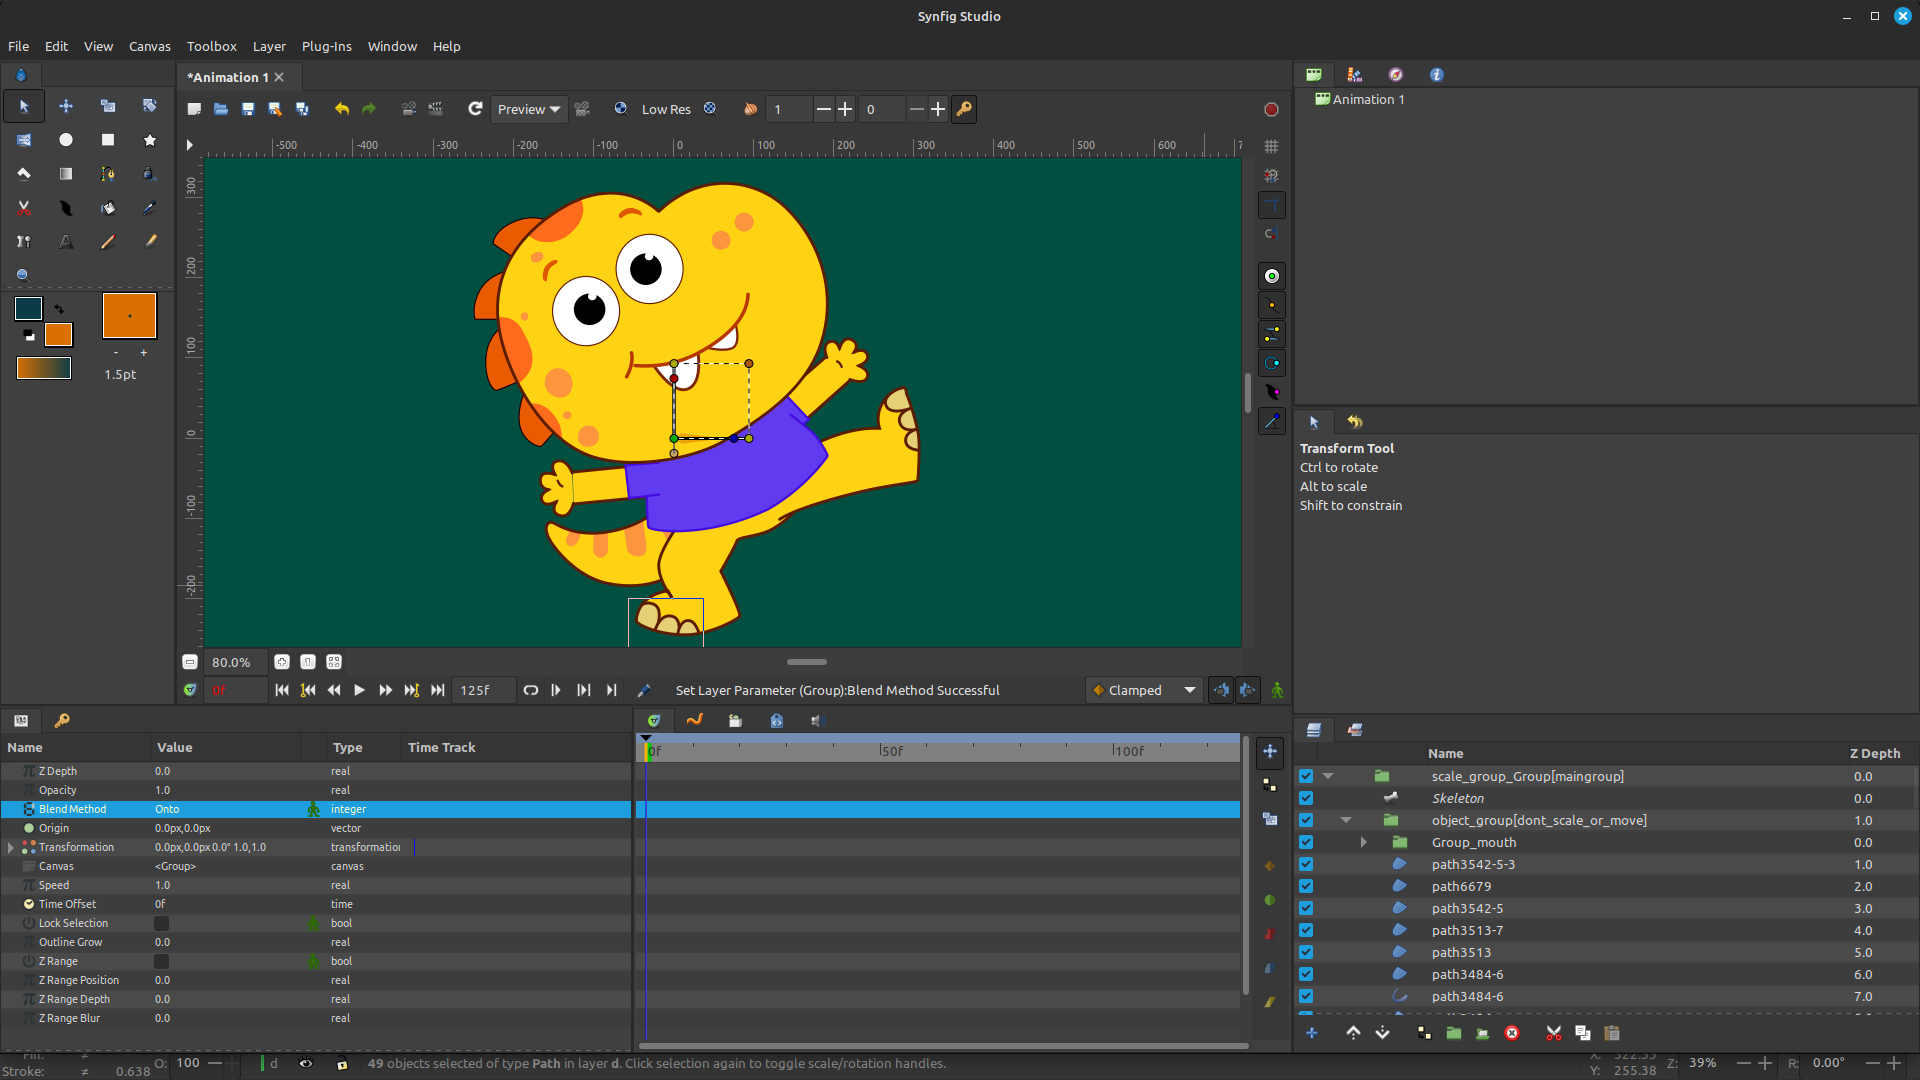
If I understand correctly, then yes — if the main (top-level) group is scaled and you place the bone layer above that scaled group layer, problems will occur once the bones start moving. The BLine positions will no longer match the bone positions.
The solution is to place the bone layer below the main (top-level) group layer. Also, don’t try to scale or offset other layers inside the main group, as that can cause issues later as well.
That’s absolutely true — this method can work as well. However, when I create a new bone, its position ends up outside the canvas or not centered on the canvas. For some users this may not be a problem, but for me it becomes inconvenient because I have to repeatedly move it back to the center whenever I create a bone layer, and the same thing happens with non-parented bones.
So in the end, it depends on which method the user prefers to use. Both approaches work, each with their own trade-offs
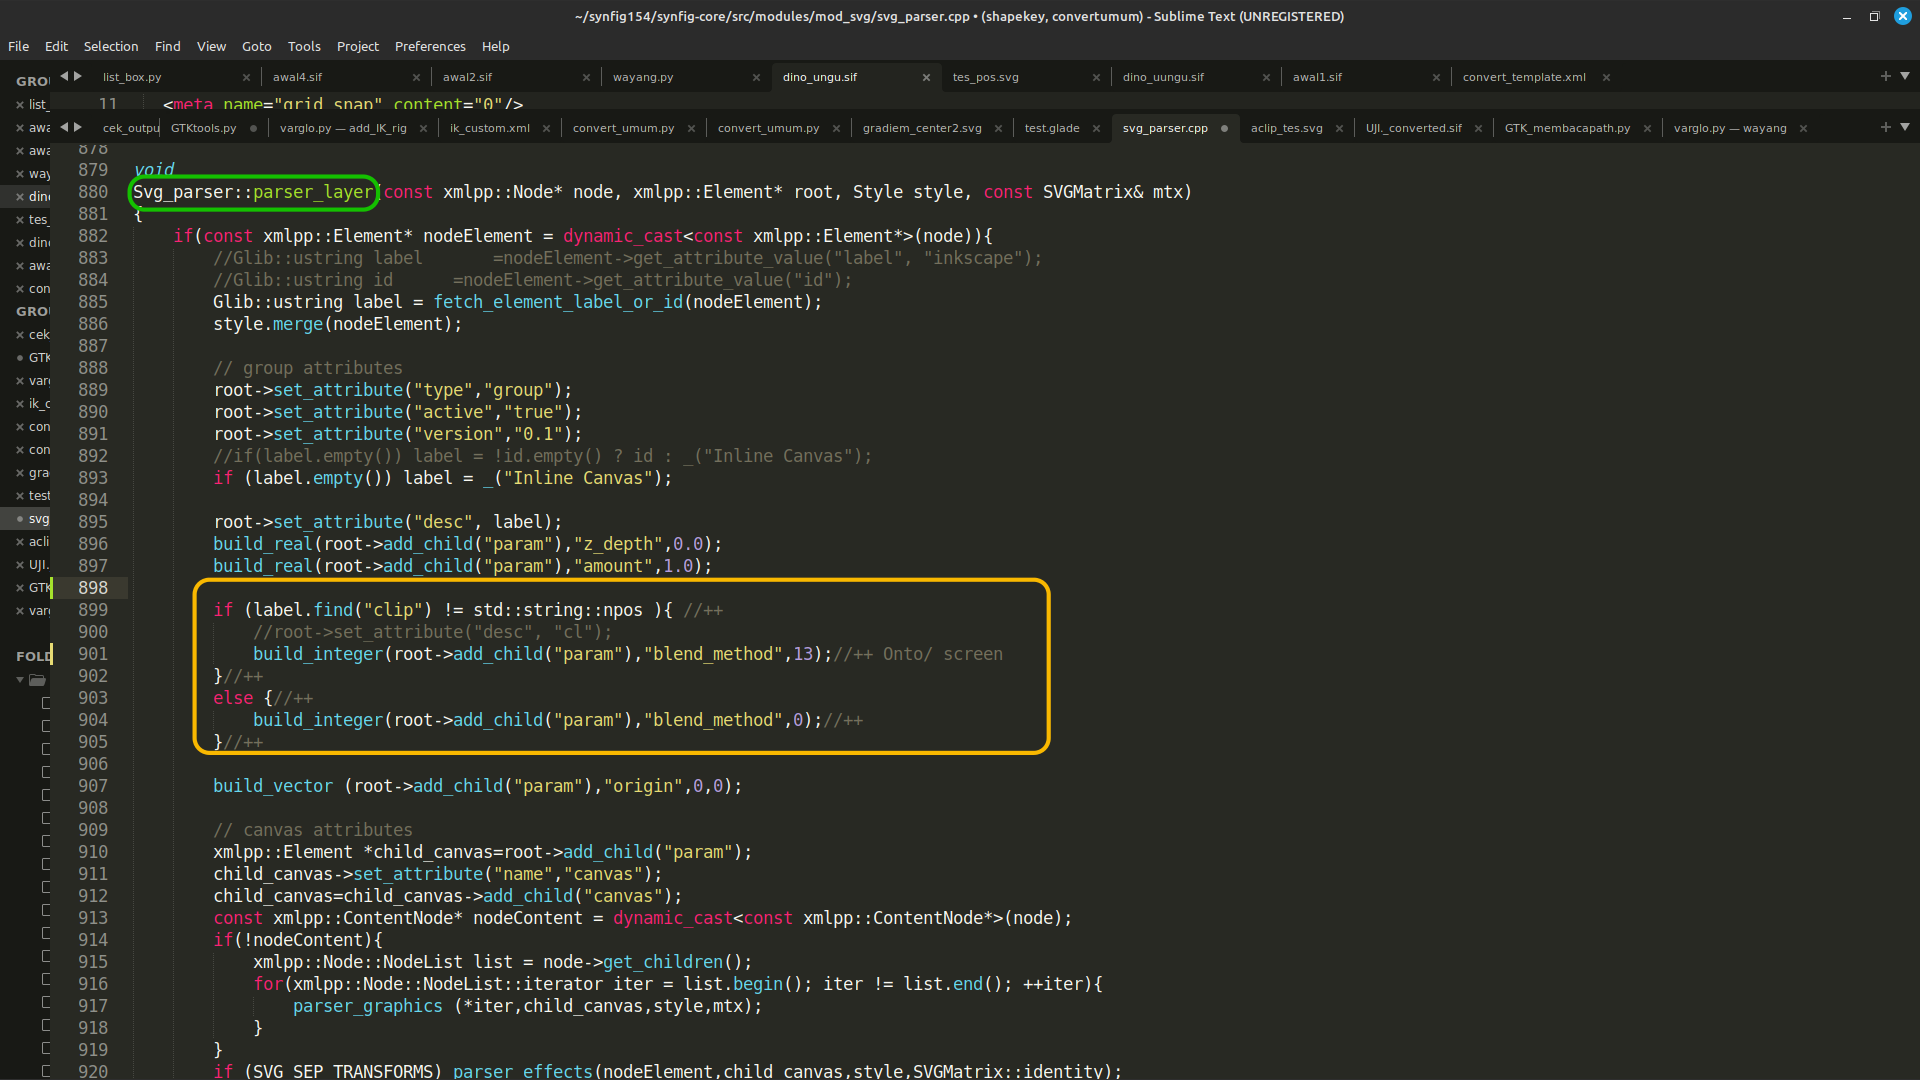
For this issue, I experimented in the svg_parser.cpp file and added several scripts. In the Inkscape SVG file, whenever there is a clip object, I create a group named clip. Inside this group are the layers that will later be placed inside the clip layer.
Then, during SVG import, if the importer finds the word clip, that layer is assigned blend_method = 13 (Onto).
This method works fairly well, although I believe there are more automatic and much better approaches by understanding how Inkscape SVG works internally. I just don’t yet know how to parse the file more deeply.
I like so much when there are harcoded values in code instead of using constants …
And 7 lines of code where 3 would be sufficient to make a better and more readable syntax.
It’s not like if we got paid per produced line of code!
I did implement the clip-path tag and attribute support for SVG importer.
I’m waiting for another SVG importer PR be merged to push it though (due to merge conflicts)
Also, my bad, I thought that it was ALREADY in the current code.
I got some PTSD after all the horrors that I see often, costing hundreds of spaghetti lines.
And the harcoded 0 for Color::BLEND_COMPOSITE is from the time of Genete
How many other issues have already been solved but still wander like damned souls in the limbo of PR beyond page 1…