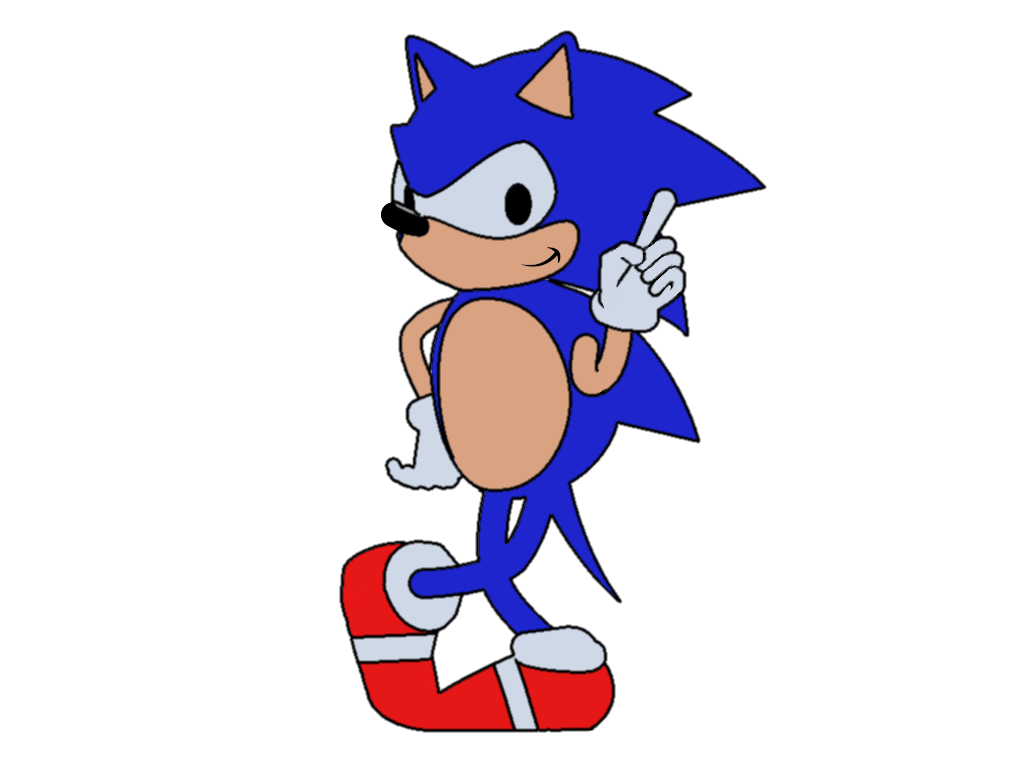
Looks very basic and I messed up head proportions a bit. And also lines, they’re terrible. You see that stair-case effect? It’s because I tried to make lines using ImageMagick’s CannyEdge because working with lines in Synfig is painful. But as you can see ImageMagick isn’t worth it either.
It’s better in terms of proportions, but still cannot figure out what to do with lines…
Here’s the third test, a very simple animation of Sonic balancing:
Completely gave up on lines… I need to fix that 1px shift issue somehow, so I can resume experimenting with “Shade” layer for outlines instead of juggling those width points by hand.
Is the first image lines aliased raster lines or staircase vector lines? G’mic has a smooth filter for antialiasing aliased raster images but also might work on other uneven lines as long as its a png or jpeg image. Its under G’mic > repair > antialiasing smooth. There are other smoothing filters aswell worth trying out. This filter works great on anime type lineart and aliased cels for smoothing in postproduction. Gmic comes with Krita but is also in Natron and as a plugin in Gimp 2.1.
It’s raster lines. As I said, I created them using ImageMagick without anti-aliasing (pixel sharp) and then tried to smooth them by applying a small amount of blur. Thanks for suggesting G’mic, it looks interesting, so I might check it out.
There are two issues. One is unfixable, it just how it is in any vector software. If we’re talking a single image, then it’s fine, if we’re talking animation it becomes quite time-consuming because as the rig changes so do lines and you may need to fix them on each frame depending on how much rig has changed. You either do it via masking (if using standard “Outline” layer) or via width position (in case of “Adv. Outlines”).
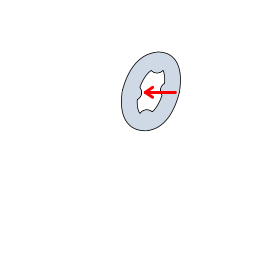
The second issue is that width on “Adv. Outlines” is broken when you uncheck “Homogeneous” parameter which results in need to change every width point on every frame which as you can guess is a huge pain. Here’s a scaled up part of Sonic’s glove from the above model:
You see those bumps on the ring? It’s because adv. outline extends past the width points.
Here are the test files for recent versions and for 1.0.2/1.2.2: AdvOutlineBug.sifz (9.0 KB) AdvOutlineBug-1.2.2.sifz (7.2 KB)
It broke somewhere after version 1.2.2. I believe after that mess that resulted in changing order of how points are stored in bline structure, you remember that?
Anyway… I knew about this issue for quite some time, I was just too busy with other stuff to bring it to light, sorry.
Holy hell, there’s actually some technique to deal wit this?! Yeah, I wasn’t clear but I never used anything other than Synfig for animation, so I just assumed it’s the same in other vector suits. I don’t know why, it just kinda made sense to me…
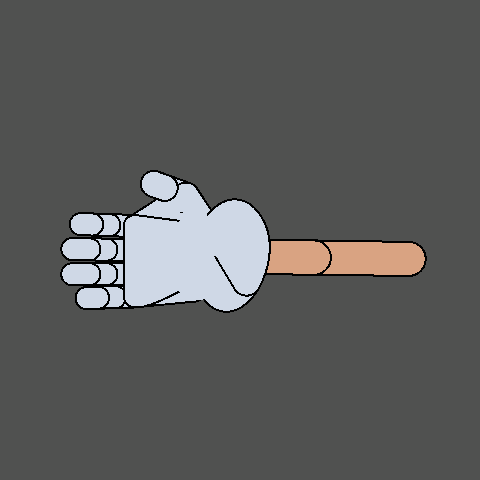
It is Sonic’s arm with enabled outlines on it and you can see how many lines require masking during to overlapping. And it is just one arm. I have a technique in mind to use Shade layer for this but shift issue needs to be fixed first, otherwise lines won’t align very well.
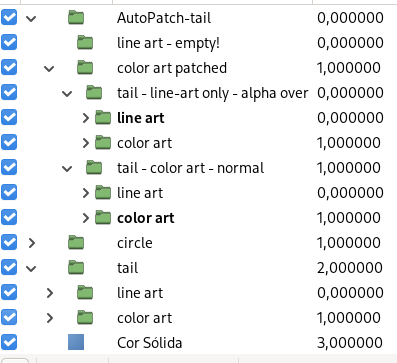
Each drawing has 2 layers (in the general definition any 2d drawing app uses: one layer may contain a lot of stuff): the line art layer (that is over) the color art layer. ¹
The Auto Patch uses the line art layer to clip the color art
In the regular use of Auto Patch, this new copied-and-clipped color art is applied over the other drawing we want to ‘merge’ to.
Therefore, each drawing is a Group layer that contains two subgroups: line art and color art. I exported the drawing canvas and used it to create the Auto Patch group/layer (in Synfig meaning).
I also linked the transformation and origin parameters of AutoPatch group to those of Tail group.
¹ Toon Boom Pro has 4 layers: a new top layer (overlay art) and a new bottom layer (underlay art)
Okay, I see, it’s actually pretty simple in principle. Can be a bit tricky to set up on a full character though… Alright, thank you very much for this, definitely something for me to try when I get back to making an actual Sonic parody.
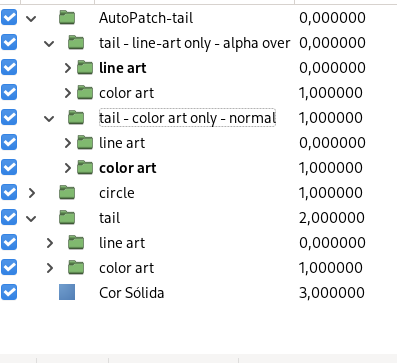
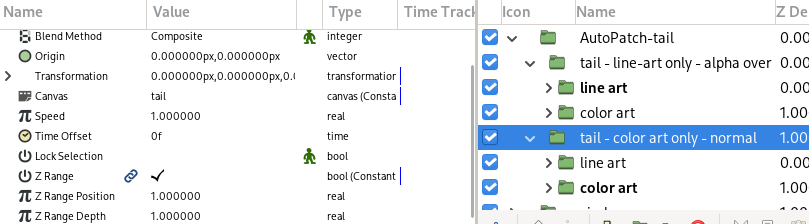
As I don’t explained before, the two groups inside the “AutoPatch-tail” group, they reuse the exported “tail” group canvas and I played with their z-range (and alike) parameters:
Hey, @Svarov . I was checking this issue now, and the problem happens because you placed two bline vertices at same coordinates. It shouldn’t be a problem, of course…
A workaround is to set the width-point positions as there were only 3 bline points. So, instead of 0.25 and 0.75, you should use 0.333 and 0.667…
Oh, so that what causes it, I see.
The reason there are two vertexes at the same position is because it was originally part of the converter (I stripped it in the example file) that I use to extend outline in some cases. Sheesh, I always run into some weird issues for using Synfig in a convoluted way…
Thanks for the workaround, at least I know how to avoid the problem now.
Wow, there are quite a lot of changes in the PR, I thought it was just a simple regression…
Thanks for your time, man. I am feeling pretty sick right now so I will test it closer to next weekends when I get better.
And its description says a way easier way to fix
However, I dig it all until find out the renderer re-implements some computation stuff and that was wrong one… Anyway, I let the extra tests for the ValueNode_BLine methods and procedures I did altogether in this PR.