Hi!
I’m having a problem with the influence region of the bones when I´m trying to rig a character with bone automatic linking. I downloaded a very well rigged character from here: youtube.com/watch?v=P65_ACqWxbQ. I have tried to follow the tutorial’s instructions, but maybe I am missing some step, so here is the process I follow:
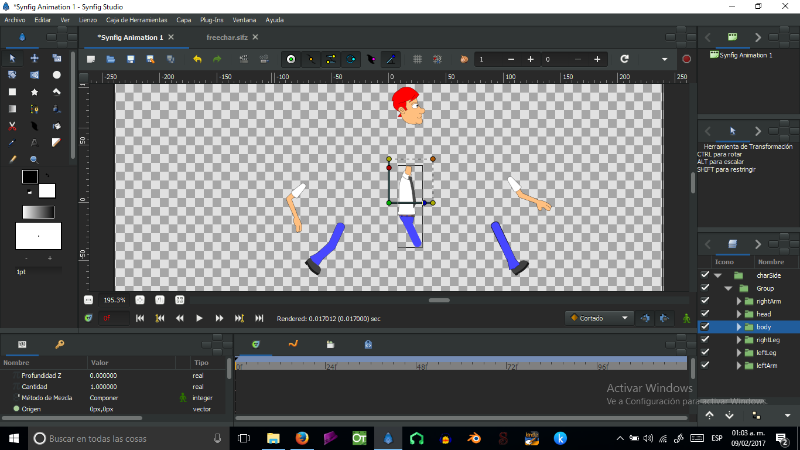
- First, I separate the parts of the character as in the image attached (because when I’m trying to rig the character with all the parts in its right place, the influence of a bone mess with vectors linked to other bones).
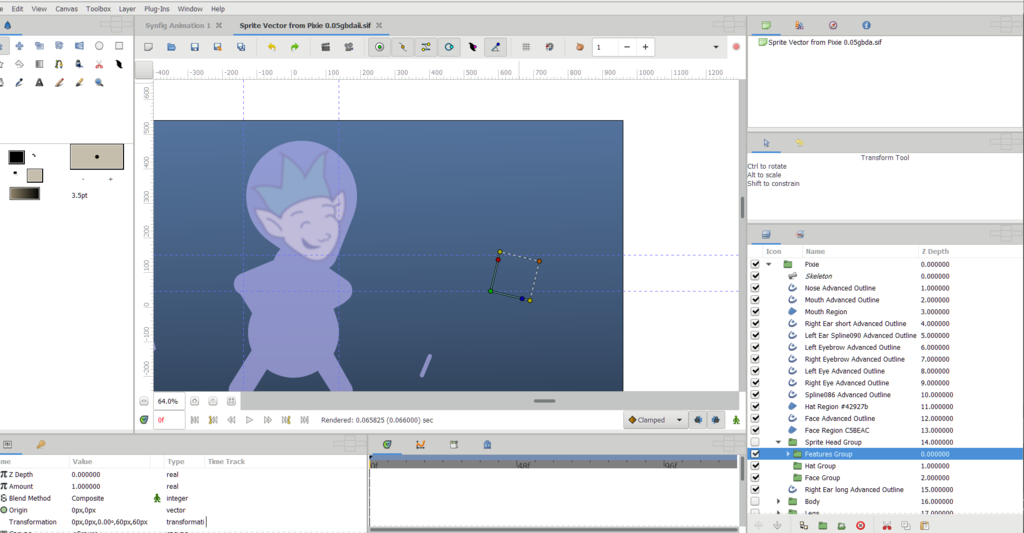
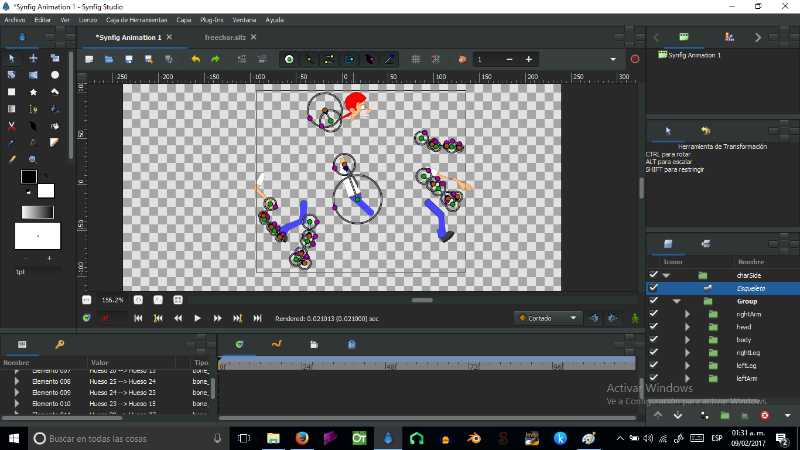
- Then, I put the bones on the parts of the character, and adjust the bone influence area to cover the entire region, as in the image below.
- I select all the child layers, and press Ctrl+A (as showed in the image).
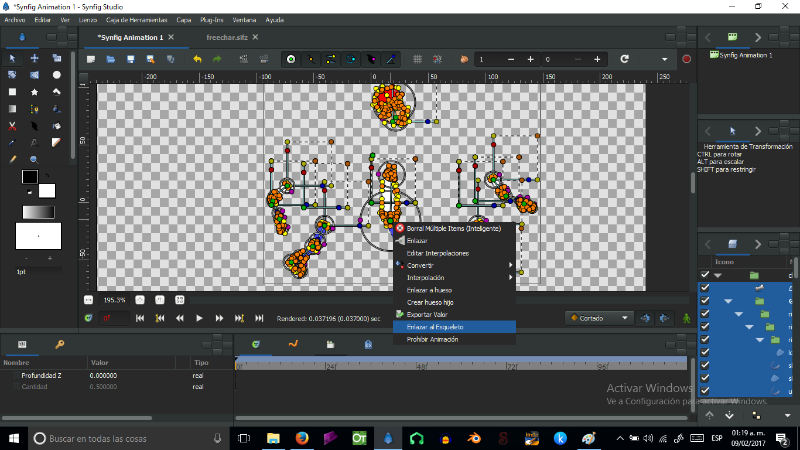
- Pressing Ctrl, I select the skeleton layer and choose from the menu the “Link to skeleton” option, as in the image below.
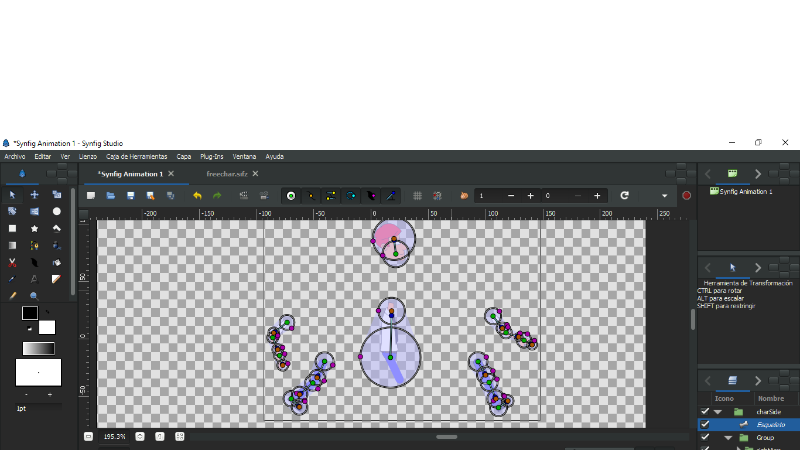
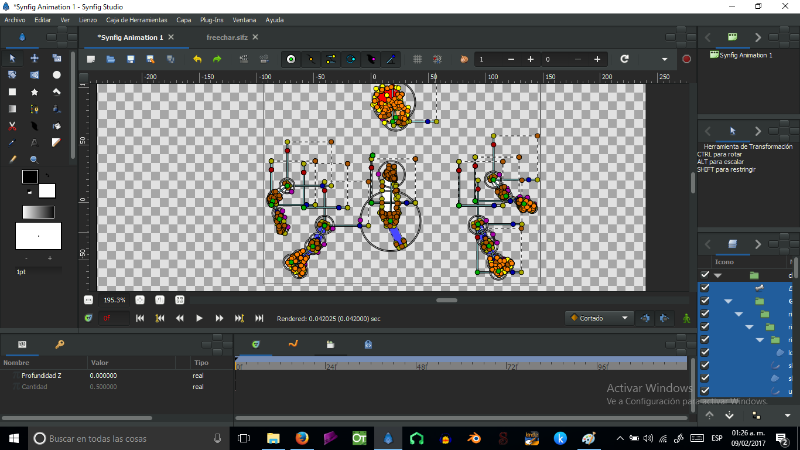
- And, here is where is the problem. Once I have linked all the layers to the skeleton, some vectors are still highlighted, and these parts of the character are not influenced by the bones; here is an image (in this case, are the head, the left hand, and the feet):
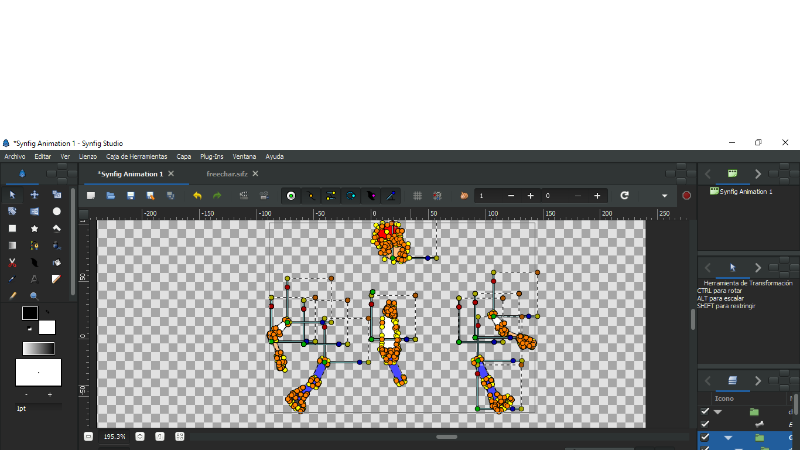
- So, when I try to move the character, the results are very messy (the character deforms in a very bizarre way, or some parts of the character aren’t affected by the manipulation of the bones). Here is another image of the problem:
I’m sorry if maybe I am missing some very obvious step, but, can anyone please help with this problem? Maybe someone can tell me how to do a right bone automatic linking or can tell me if I am wrong with all the process and correct me.
Hope someone can help with this issue.
Thanks!
P.S. By the way, I’m sorry for any grammatical mistake, my native language is Spanish (as you can see in the images). Thanks again!