Hello Folks, I am writing this small tutorial with a technique created by Genete, explaining how to
replace objects to improve character animation.
How it works?
Well, let’s suppose we have two or more “poses” drawn for a hand; and in a specific time it should change from one posed hand to another one.
Genete goes beyond ( we can see and download the file following this post viewtopic.php?f=8&t=669
; he linked the hand object to an animated arm ( vector animated, i. e. waypoints ), through a hidden bline placed in the wink position; so he linked the hand to the hidden bline with the “link to bline” option.
In this simple tutorial I will write just the first part ( create a library to store all the hand poses ) because this is what I am using in my short movie:
Let’s call this: “Creating a library of poses”
Why use this technique? Because sometimes the “vector animation” doesn’t solve all we need, or simply spend more time as using a pre-created pose for a body part.
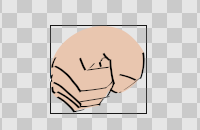
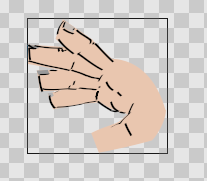
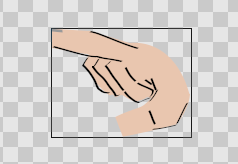
So we have these three poses for a hand ( as you can see, it would be difficult to solve as a vector animation ):
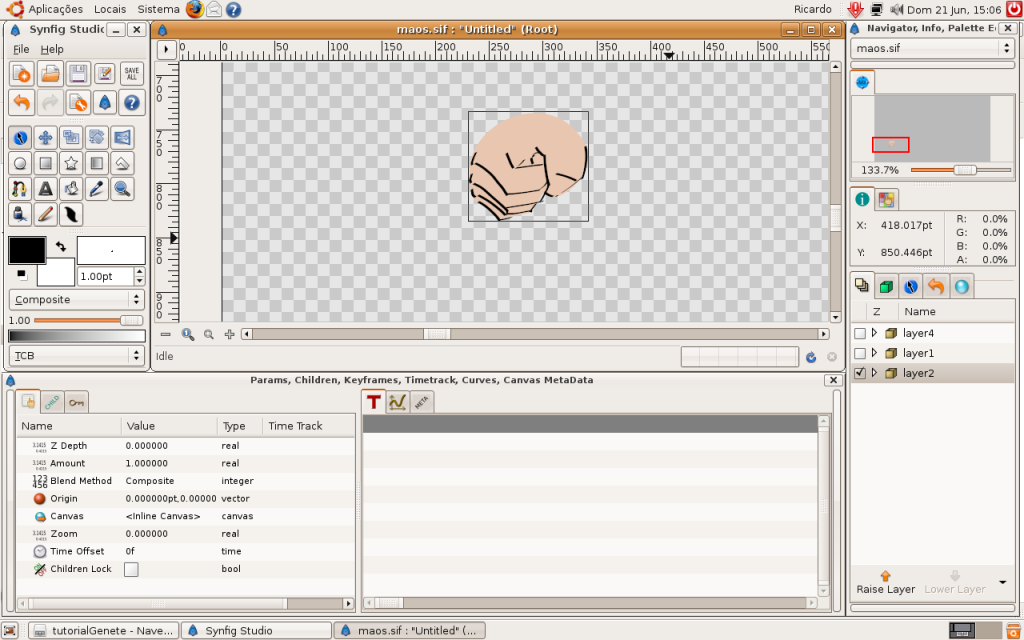
Step 1:
Encapsulate each pose hand layer. Right click on the object layer --> encapsulate. That’s it, simple.
h
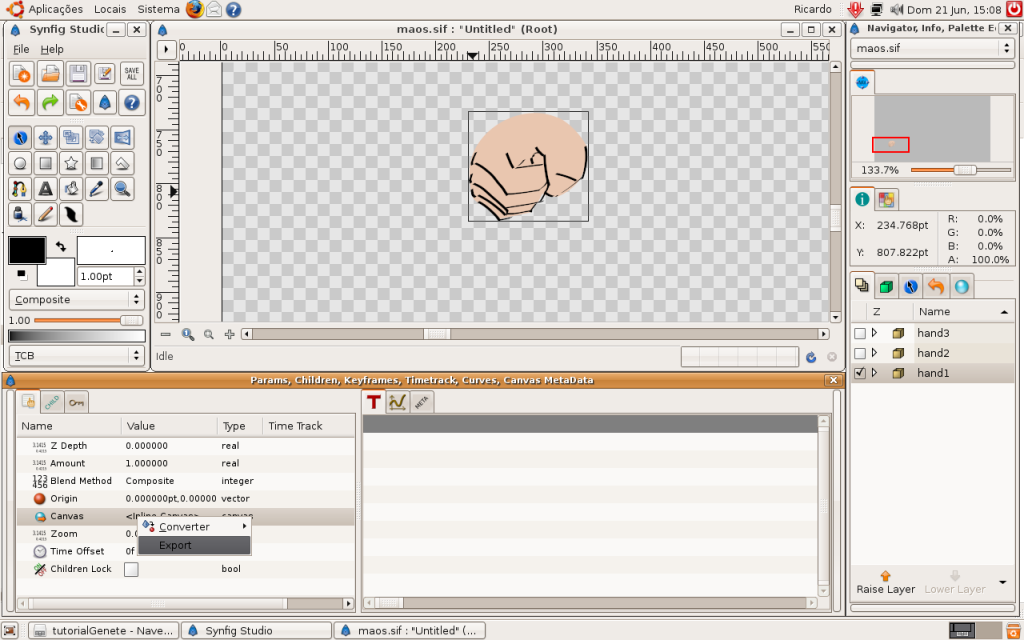
Step 2:
Go to inline canvas and choose the option “export” for each one encapsulated.
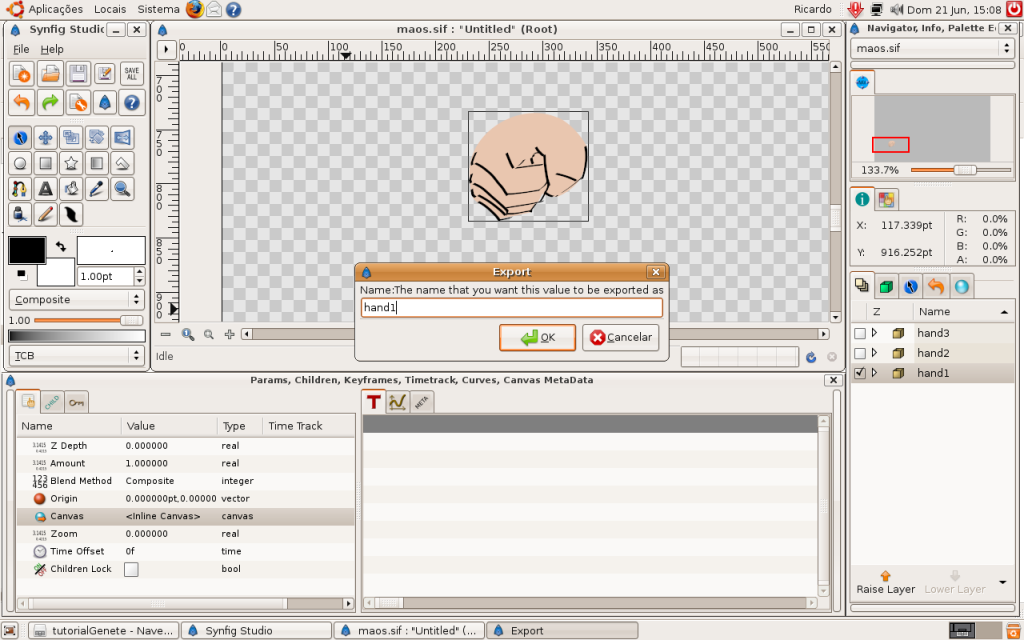
repeat this step for all hands.
Step 3:
Now check the library created in the canvas Browser panel ( the blue sphere icon panel ).

Step 4:
with the library created, you can remove the encapsulated layers in the layers panel. Right click on the layer --> remove layer.

Step 5:
Create an empty “Paste canvas layer” ( this layer is the “content” layer for the library ). I’ve named it “hands”.

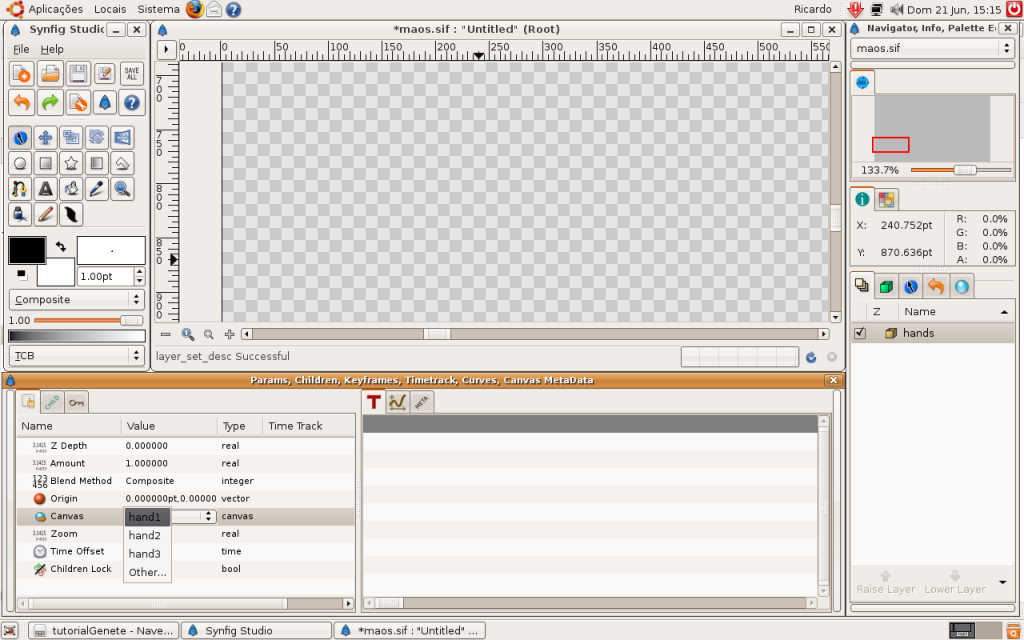
Step 6:
To use the library just select the “empty” Paste canvas layer, and in the parameters panel, you choose from a pull down menu the pose you want.
P.S.: if you want to edit the object after creating the library, no problem, you can double click on it ( inside the canvas Browser panel - the blue sphere one panel )
Here is the file with a simple animation using rotate and stretch: http://www.4shared.com/file/113285174/3d548c41/hands.html
Sorry about little problems: I did the vector art in inkscape and exported with svgtosif…the file is big and the pivot points of the hands are not at the same position.
- Tip: to see the keyframes created when you changed the hand pose, just encapsulate the “paste canvas layer”; you will see this in the file.
And how I am using this technique now in the short movie?
Well, for now, I am using it with the face parts ( eyes, mouths, expressions…), but latter I’ll use it with the body parts ( hands, feet, torso, head rotations ).
That’s it! Thanks Genete ( all the credits!!)
 Looking forward the second part