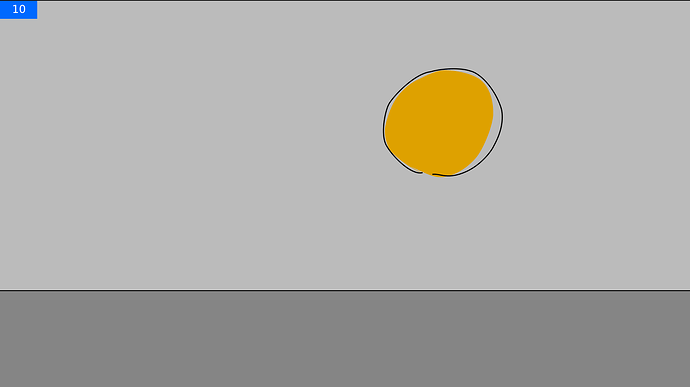
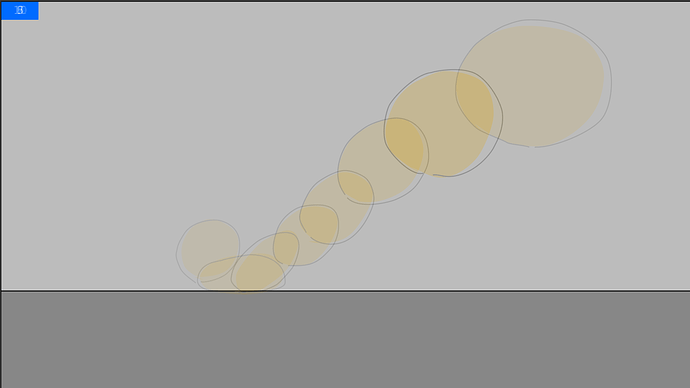
This is a template for those who want to animate frame by frame in Synfig.
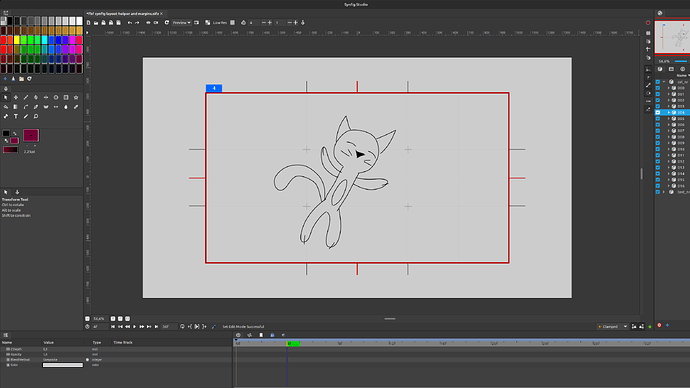
Click on the fbf switch layer to see the keyframes (cels 0-16) in the timeline.
Before drawing on frame 0 select the “000” layer set under “Sets”>“cel_nr” to activate that layer and making your lineart be put into layer “0”. Draw the lines on frame 0.
Activate onion skin.
Go to next frame (frame 1) select “001” layer set to activate layer “1” and draw. Go to next frame (frame 2) select “002” layer set to activate layer “2” and draw.
And so on…
If you deselect all drawings you will draw outside the frame folder when you draw again. So always select the layer set first before drawing.
Tips:
Don’t be in animating mode while drawing (Red figure). Use editing mode (Green figure).
Use “Stop current operation” (red icon upper right) to enable playback of the frames after drawing.
Assign custom keyboard shortcut key (example: < and shift + >) to move between frames.
When you have some lineart objects you can add them to a set called “lineart” and if you color you can add to set called “color”. This will help you selecting and editing all the lines and fills after drawing (handle edit, stroke width, color change etc).
Don’t use preview > “Render future and past frames active” while drawing and turn of grid snapping.
You can add more cel frames and frame sets than the 17 frames in the template.
Frame counter in the upper left corner shows the current frame. Active switch frame layer is also highlighted bold in the layers panel.
Layer sets were named “000, 001, 002 etc” since "1,2,3,10,11,12 etc didn’t order correctly in the sets list. But 000 means layer 0, 001 means layer 1 and so on.
Templates Synfig 1.5.3:
fbf template synfig ball2.sifz (29.8 KB)
fbf template synfig blank.sifz (5.7 KB)
With Layout helper and project margins:
fbf synfig with layout helper.zip (9.0 KB)


