Hi!
Quick tutorial to make custom switch controllers in Synfig based on the Morevna Project tutorial video.
-
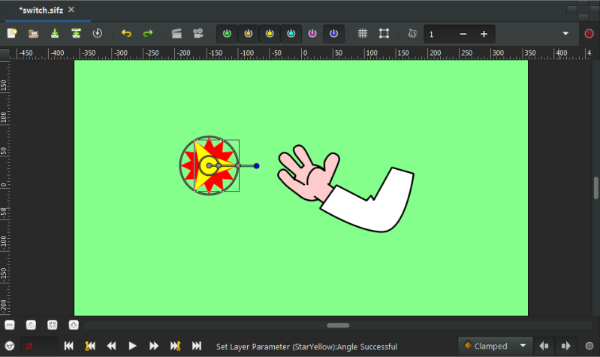
Make a 12 point red star.
-
On top of the red star make a yellow 3 point star.
-
Select the yellow star and Grey out the Origin, Inner and Outer Radius points (right click on the points and convert them to Greyed).
-
Leave the blue Angle point as it is.
-
Select the folder that contains the drawings to be switched (in the attached example it is the hands folder).
-
In the parameters panel switch on ZRange.
-
Right-click on ZRange Position and convert it to Integer.
-
Click the little triangle next to ZRange Position to open it and right click on Link and export the value and name it switch-pos or whatever.
-
Select the yellow star.
-
In the Parameters Panel right click on Angle and convert it to Scale.
-
Click on the little triangle next to Angle to open it and convert the link to Integer and change the amount in Scalar to 30.
-
Click on the little traingle next to Link to open it and connect the second link to the exported switch-pos value.
Your switch controller is now active. Rotate the controller to change the hand shapes in the hands folder.
Link to the Morevna Project tutorial video: https://plus.google.com/+KonstantinDmitriev/posts/56gjfYDHJWi.
switch.sifz (14.4 KB)