As the title says. It was suggested by genete, and gives me a good excuse to repost a link to one of my first animations. youtube.com/watch?v=odXd5qWvvtk
Enjoy,
Chris
P.S. For those interested in planning ahead - Upcoming challenges -
September - Splash screen for the new release of Synfig
October/Novemberish - “What happens when Synfig meets Inkscape?”
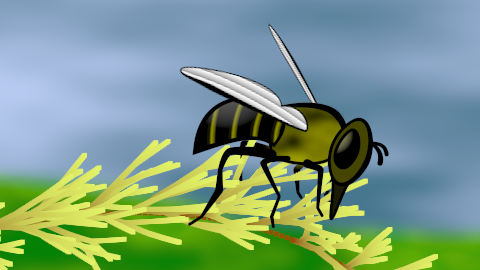
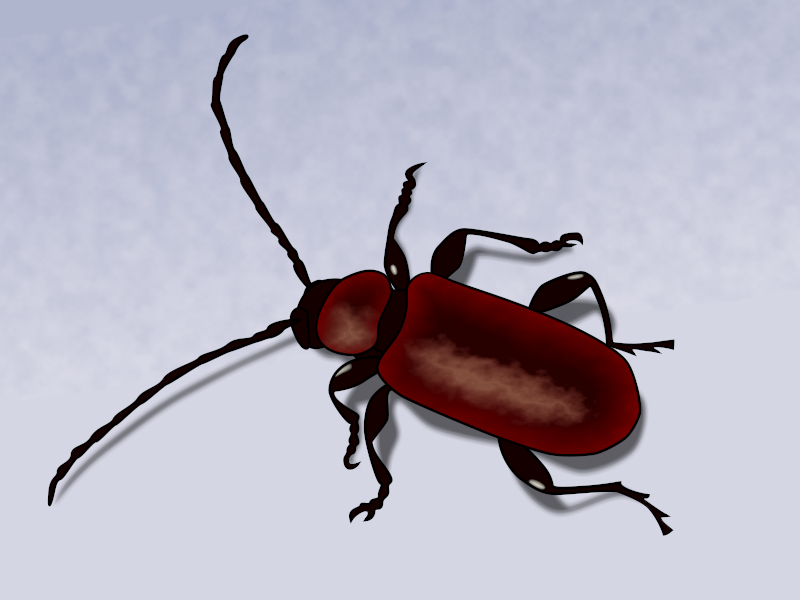
Here is nevertheless a quick try of Synfig. I just discovered your program, and made this one in about 3 hours. Any comment is welcome.
A few troubles/questions I had (any pointer is welcome):
lack of means to convert an outline to an area (for I outlined my
the location of the mandatory “caret” menu makes sense, but I struggled to find it through the documentation
how to link 2 layers parameter to animate them together (i.e. the origins of my 2 “flares” layers on the eye and tail) without encapsulating them in a common layer?
any better idea how to fill the bee wings? (I used a radial fill of black & white) or the bee tail (radial yellow & black)
I gues you want to move them in paralell. So when you move one the other follows.
In that case one of the origins has to be the leader. So the non leader cannot be animated directly with the mouse but with the parameter value and the keyboard.
Imagine that your flares are called A and B.
So you want this:
A.origin = (A.origin - B.origin) + B.origin
and in animation:
A.origin.animated = (A.origin - B.origin) + B.origin.animated
So first go to flare A and select its origin. Right click-> export. Give it a name (A.origin)
Same with flare B. B.origin.
You have saved the values in the exported value nodes.
Now select flare A and do right click to the origin parameter. Select “Disconnect”. It will disconect it from the value node. But the value node will remain.
Repeat the same for the flare B. Disconnect it form the exported value. Export it now as B.origin.animated.
See them at the CHILD panel. Select the A.origin exported value node. <<< this step is important You only can select a value node each time.
Now return to flare A and right click the origin parameter and select “Convert->Add”. It will convert your origin parameter as the sum of two other vectors.
A.origin=LHS + RHS, where LHS and RHS are vectors.
Select the LHS and convert it to “Sustract” so LHS = LHS2-RHS2
You have:
Origin of flare A = (LHS2-RHS2) + RHS
Then do the following:
Select A.origin from the child panel (already selected if you did in the previous step)
Right click over LHS2 parameter - > Link
Select B.origin from the child panel.
Right click over RHS2 parameter → Link
Select B.origin.animated from the chid panel.
Right click over RHS parameter - >Link
You’re done.
It looks a bit complicated but it is just a question of know the maths of what you want.
I hope that mini tutorial helped you.
You can use a linear gradient with the loop parameter enabled (for the wings) but the spiral gradient does the job too
The radial one for the tail is the correct one.
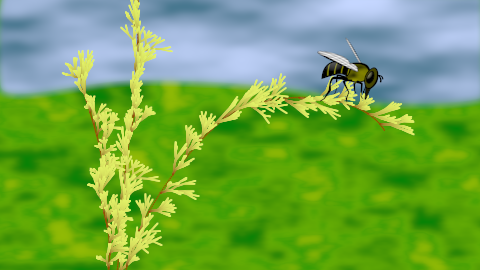
rotation on wings (as reusable canvas) + motion blur (maybe too timid)
camera-like zoom
small random changes in gravity on the plant flowers, triggering rotation of the bee head and tail.
Things I wanted to make but couldn’t guess how to (pointers are welcome)
rotate slightly all the bee components to adapt to gravity change by lowering the shoulders and head. (the bee parts are separated by the plant… therefore a single rotate is KO; and I dont’ know yet how to nicely convert gravity into angular variation)
bind the location of the 2 flares (on tail and eye), for a linear relation was not accurate enough to compensate the difference in shapes (eye is more curved on top)
light rain (using particles), that would trigger the bee leave and fall of some flowers (too much work for now)
Once again congratulation on Synfig useability and intuitiveness. This discovery of mine took me about 6 hours… I’d say it’s satisfactory, and would point out I lost most time on
trying to understand the explanation of different convert types (maybe schematic pictures of their meaning would help)… you know of another documentation for the same kind of concept somewhere else?
navigating the layers to find the element and parameter to change while fine tuning the animation… maybe a “bookmark/favorite” tab behind the “layer” and “group” tabs would help.
make the 3 end points of all legs move slightly… without moving upper ones (if possible without making separate object… maybe transform - length?)
(if discussing these things should happen somewhere else please tell me.)
Yo,
my entry for this one, with the sifz file in Creative Commons sampling +1.0,
so if you wanna try and animate it you’re welcome!
And I’m very happy to say that it’s the first drawing I do from start to end WITHOUT A CRASH in synfig!
(only sometimes when closing the document it crash but it doesn’t really matter since work is already saved ^^)
So ZeBug without a bug, héhéhé Insectrip01.sifz (34 KB)
Ok Genete I will add it to the gallery, cool!
But do you mean in the main gallery there synfig.org/Gallery
or in the challenges one there synfig.org/Challenges/All (by the way the July contest is still the current one there…)
??