[Animation - Scribbles] Ball and a Hoop

Helloooo~ again!!
Umm… I’m not sure where to put this in.
It’s not really a ‘legit finished work’ per se, but not exactly a WIP either since this clip is not exactly the main focus of my WIP (details below). But I’ll just put it in here and you guys can let me know if I misplaced this one. :sweat_smile:

So, I think it’s finally time to step up my game a bit. Instead of creating a still manga/anime image art, I’ll be making them bodies move. In other words, actual animation! (Yay! :grin:)

To do that, I gotta start somewhere.
And I think there’s no better place to start than figuring out how would I manage my animation projects. This includes separating animation files by scenes, slightly different composition method, folder organizations, renders, and importing them to video editor projects.

In order to figure that out, I need an animation file to work with. But since I have only a little experience with animation, I had to search for a bit of help for where to start from on learning animation. And I found out according to some sources, animating a ‘Bouncing Ball’ should be a good starting point.

Thus I’m making the animation and learning to make the ball move and bounce, while at the same time trying to figure out how to organize my animation files, along with some (by that I mean, So Many!!) trials and errors on the way, and at the same time making notes for my Animation Workflow.

And I think I’m really getting the hang of it. I almost got a very good (stable and doable) concept for my Workflow, which is Awesome! Just need to iron a bit more of those wrinkles, and I might be good to go.

As for the ball animation, well… here it is! Not my best creation, but I had a good time animating it~ :kissing_smiling_eyes:
Also it doesn’t need to be pretty yet. As long as it’s workable for workflow testing, it’s good enough for me.

Scene01_BALL
IDK why, but rendering this file to .gif takes Forever. It’s very contrast compared to rendering using ffmpeg, which takes wayyyy quicker time than this ._.;

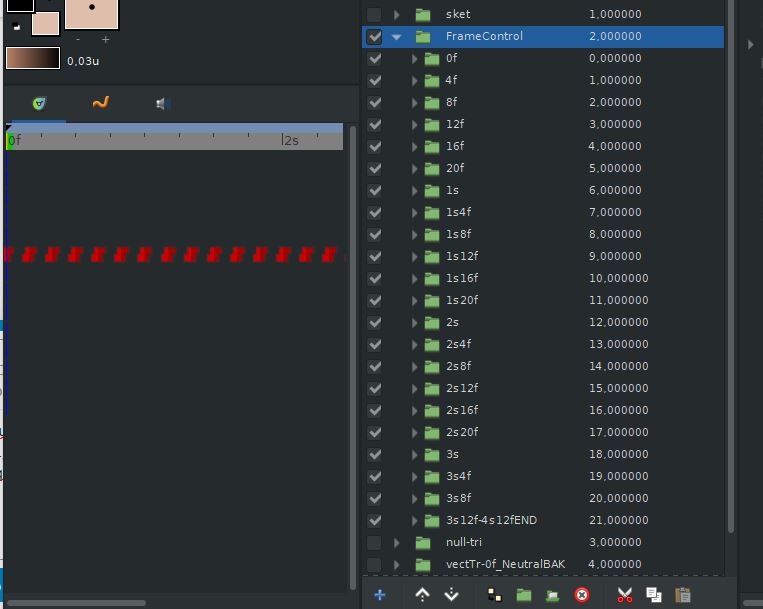
This animation was made entirely in Synfig Studio using vectors, with pseudo frame-by-frame method. Meaning that I’m using Constant waypoints to emulate frame-by-frame animation.

Sure it doesn’t look impressive yet (considering how simple this animation is). But I’ll be expanding this much further, including (hopefully) creating proper anime scenes (or something that resembles that), with vectors and all. And yes, that also means drawing the characters and background with vectors, in Synfig Studio.

Now, I’m not exactly sure if this is 100% possible. Idk, I might eventually hit a huge roadblock and had to resort to some inconvenient alternatives. But hopefully (Hopefully), everything will go smoothly, I’ll make myself a good Animation Workflow. And maybe (Just Maybe), make an actual animation. Or even better, Anime-style Fan/Animation. :wink:

Now if only I can find a way to implement animation storyboards in Synfig~ :thinking:

3 Likes

You can also interpolate/tween and then bake the animation to tweak it frame by frame.

1 Like

Bake…?
Well I had to look that up to find out what that means, and… from the general description,

Baking in animation is the process of adding keyframes to every frame , it can also be used while baking constraints, space switching or for other purposes such as converting simulations into keyframes.

I think I get what you mean. Is it like creating two interpolating keyframes and then fix some of the bad frames between those two keyframes manually? (my wording is a bit weird here but I think I get the idea)

1 Like

Exactly. Right click on an animated parameter to Bake it :slight_smile:

1 Like

Oh yeah, I think I remember now! I’m pretty sure I’ve seen it before, but I totally forgot that’s a thing until you mentioned it. I even forgot how it works, so I tried to play around with it right away.

And I gotta say, while having a feature to add waypoints between movements is very helpful, there’s a bit of problem. One, I don’t know how to bake multiple parameters at once (or maybe it’s not possible yet). And two, having a plentiful amount of waypoints in a single canvas/group can get pretty confusing. :neutral_face:

Though, I am pretty sure that feature can be extremely useful at some point. For now, I’ll probably stick with what I’m using right now, even though it’s… a bit less sophisticated. :sweat_smile:

What I did is basically creating separate canvas groups for different frames (or frame ranges). And just time them so they appear and disappear at the right times.

Sure that looks like a lot, but when you look at each individual canvas groups, they all mostly consist of just 3 ‘Constant’ waypoints. And all waypoints are tied to ‘Opacity’ parameter. One at the beginning with ‘Opacity’=0 to hide the group (except for frame 0, which in that case it doesn’t need this at all), one in the middle at ‘Opacity’=1, then back to ‘Opacity’=0 to hide it just in time for the next image to show up.

In other words, I want to keep it all simple and quick enough, so I won’t lose much progress if something goes wrong. :wink:
(although the downside is probably this can be quite the memory hogger and gets very slow, if the file becomes very crowdy and packed, I would imagine :droplet:)

And yes, I’ve tried using ‘Switch Group Layer’, but there’s an annoying problem with it. Where if you click on a duplicated group layer (or maybe any duplicated layer in particular) that are inside the ‘Switch Group Layer’; so there’s like two of them, the top one will Always be selected. Even though I’ve tried to hide it by unchecking its visibility, it just won’t stop picking the top one.
That is quite bugging me since I’m using ‘Duplicate’ all the time, like working on a next frame for example, where I’d just duplicate/copy the finished ones and tweak them a bit. :no_mouth:

Wait a minute… Now that I think of it while typing this, I think I can solve that by reversing the order of the group layers…
So I gave it another go. And yeah, renaming the groups early and reversing the order actally works quite well to get around the issue, like a charm! :bulb: :grey_exclamation:
Maybe I should return to using ‘Switch Group Layer’ then, perhaps~

1 Like