yeeaaaaahhhhh… you were not alone in this one~ 
I had this issue as well back then. And at that time I did find some
workarounds (albeit somewhat less convenient), like exporting some spline lists and link them,
or meticulously link every single point one by one; vertex, tangents, and all of that
In the end, I eventually learn to just… deal with it.
I decided to not keep using those workarounds for stability’s sake.
With the export one I’m concerned that any changes made to synfig
might gonna break the shapes (or worse, the file itself),
and with the second one… no, can’t be bothered doing that. 
Now in that post, I did discover another somewhat working alternative.
But considering the caveat that it brings,
(losing the ability to change tangent split/merge, losing ability to animate those shapes, etc.).
I don’t think it’ll worth the time that I’d take to just link those points one by one…
Though, one thing that I always keep in mind is to label my set of outlines
so I know which belongs to which.
I’ve used blank group layers to this before,
but as of now I’ve switched to “muted” plant layers
(muted, as in their properties are shrunk down to zero as close as possible,
including their opacities, And, prevent them from rendering.
It’s an overkill, but I need to make sure that they won’t lag synfig too much)
And the reason I don’t use groups to do this, is because they limit the scope of the blending.
(it has something to do with my composition workflow. And they’re quite handful)
(like… it’s a lot)
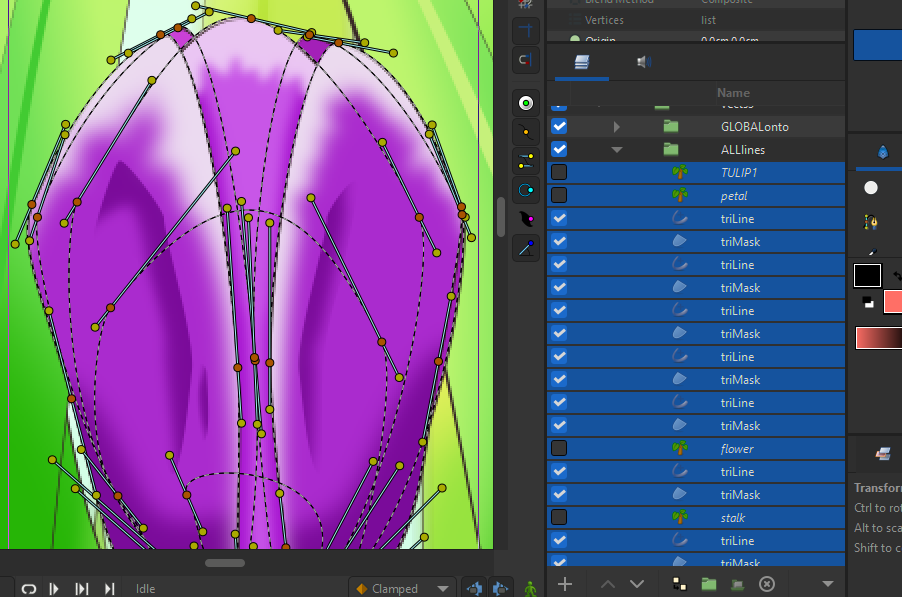
I mean, just look at the density of that! 
You can’t see the region layers here, since I put them in a separate group layer.
So those alpha layers (masks) have to take their places instead.
but Yeah, I do agree, the fact that I can tailor every single element of the spline objects;
lines, regions, and every single of their properties, to my own liking,
is really helpful and plain awesome! 
