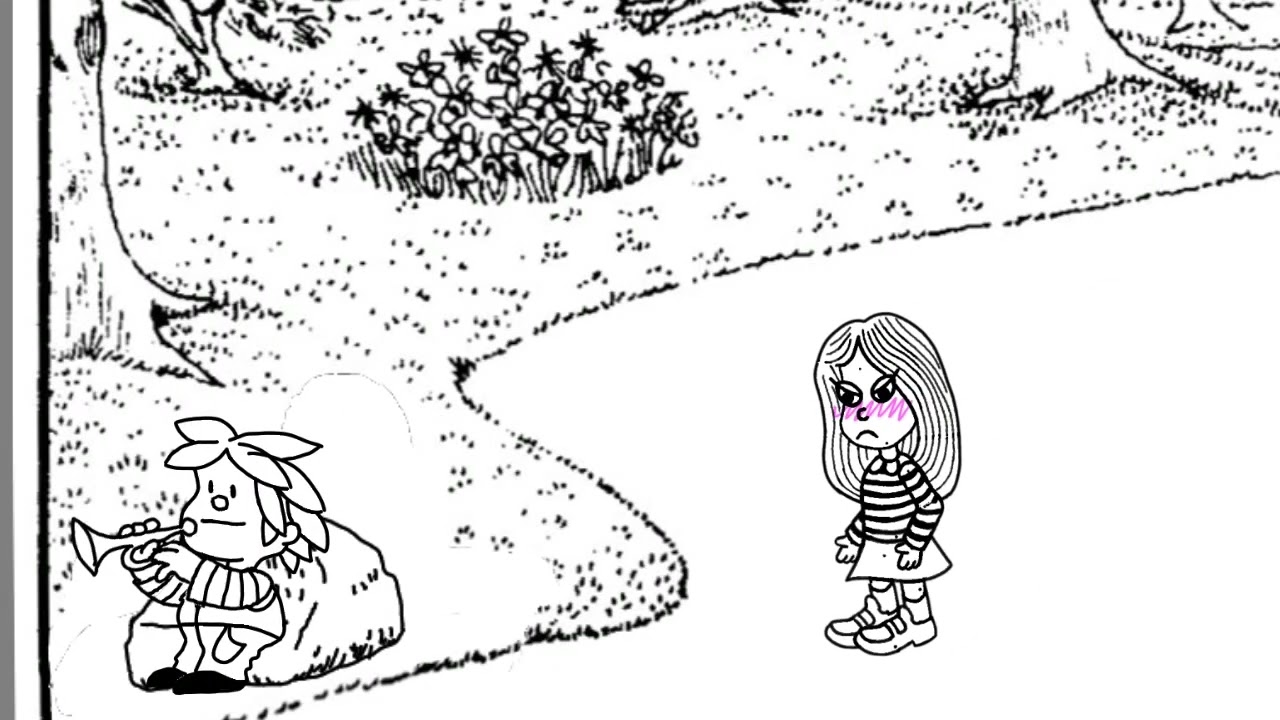
I made this little animation with Mafalda characters ![]() it took me 24 hours (over 4 days) in Synfig and Krita.
it took me 24 hours (over 4 days) in Synfig and Krita.
My workflow is something of a Frankenstein monster, because I was feeling a little insecure about Synfig’s ability of doing what I want:
- I use Krita to make a cut-out doll of the main character, with carefully placed rotation center markers, and “filled arc” extensions, that would fill the gaps when a limb folds from 0 degrees to 90 degrees. Each limb is a different color to make sure where one ends and other starts.
- I use Synfig to animate the doll alone with bones. I made 2 walking animation versions: for a mostly sideways view of the character, and for a mostly frontal view. Then 1 animation for standing poses. The doll is articulated articulated in the ankles and toes too

- I exported those animations in separate folders. I used ImageMagick to convert from color to black-and-white. I still can’t figure out how to remove the rotation markers: using a different layer in Krita would produce a risk of mis-alignment. With a different color, to be removed with ImageMagick, leaves a faint empty black circle ← I would like suggestions here.
- With each walking gate and standing poses in three different folders, I make a new project in Synfig, add the background, the front layer of background (tree), and the secondary character, with just a time-loop animation, playing the trumpet.
- I import the main character 3 times: one with the sideways walking frames, one with the frontal walking frames, and one with the standing frames.
- I animated the frontal walking, adding stops where I want the character to pause and do something standing in place.
- At that place in the timeline, I make the sideview opacity=0.0 and the standing animation=1.0, then animate the standing character by choosing frames repeatedly until the 32 frames are done.
- At the end of the 32 frames, the opacity is returned to the sideview character.
- Then I repeat to for the other “standing in place events”, and the frontal walking animation.
- I do it all with the entire background fitted in the 1280x720 canvas.
- I use translate and scale filter at the top of the object list to zoom in and pan.
I wonder if I need to import the character 3 times, so that I avoid messing with opacity, and select the frame sequence at each period of time. This part was much more work than I imagined, and making a mistake here would be hard to correct.
I discovered that zooming and panning with scale and translate are very convenient… although I abused it a little bit by using the scale’s origin property to add a zoom in the last moment.
I noticed that the timeline waypoint markers don’t render until I pass the mouse cursor over the area. Is this normal while animating the scale layer?
Thanks in advance if I get any suggestions ![]()
