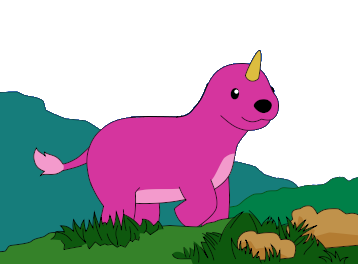
I was just doodling in GIMP then this thing came out. Work it then in synfig. Not really my style, doesn’t fit the image you know, but it is simple enough to play with… with unsatisfying results. Was experimenting on it, trying out ideas but it does not work so I scrapped animating it and leave it a still image. Still I learned a lot of thins that I could use for future projects.
Well may I ask some questions?
-How could we animate the thing’s belly. The belly is made of two colors. How could we animate it so that it would easily syncronize with the other parts? Or do we have to do it the hard way?
-The wings is also a problem. Does anyone has ideas how the individual feathers be animated properly? I want to animate it flapping up and down.
I also would like some feedback:
-I find it dificult to change the colors in a gradient to the colors the esisted already. I was picking colors from a drawing (doodle) I had made earlier but can’t find a way to make the gradient have the color from my drawing when I mistake when creating the gradient. Had to actually delete it and create a new one. Could you make a means to make it easier?
-Could you make it so that some things can’t be selected? My first try was to put my sketch at the top layer and change the blend method to multiply but it turns out that when I try to edit things I can’t select directly on the main window because I will end up selecting my drawing. Puting in on the botom layer is problematic too because it ends up being obstructed by other elements which makes for a very tedious checking and uncheking of vissibility.
And a newbie question:
-How to use the blur layers. I was trying to use it for the specular of the eye but it does not exactly work as I expected. The original white circle is still visible and sharp with the blur seemingly placed on top of it which makes it looks like it glows. I only want to see the blured circle not circle and blured circle.
Use Straight blend method. Alternatively set the Default Blend Method to “By Layer Default” and when creating a Blur layer it would be set to “Straight”.
Do it the “hard” way. It is not that hard and really would make it more organic. To make things simple, first animate the body and then when everything is finished then animate the belly. That would be easier to do rather than keep track of all the decorations when the actual animation is not accomplished.
That will be the hardest part. First draw the two or three main poses. If they (the poses) keep consistency on the shapes, you can think on use the same group of shapes to animate the flapping. Otherwise you need to animate it in a traditional way (frame by frame) by changing to different compositions along the time using the visibility of different paste canvas layers or animating its canvas parameter. Everything depends on the details of the wings and the speed of flapping. If it is quick, you can simply use two compositions (up and down) and animate them up to their limits and then quickly change to the other composition of the wing.
Yes, gradient editor is not friendly.
This is an interesting issue that would be simple to fix doing some code modifications. Currently mouse clicks are sent to the stack of layers and the first one that returns a hit check as true it is selected. The image layers covers all the work area normally so they are some sort of obstruction for layer selection. It would be great to have an user option to disable a certain layer for hit checking so it is “transparent” for layer selection with the mouse.
If you want to see this enhancement become true, please open a issue at the issue tracker requesting for it. It is not hard to implement (possibly a little boring because it is needed to touch all the layers but not a hard coding thing at all).
i have done some little experience, using pasted canvas ( wiki.synfig.org/wiki/Doc:Reuse_Animations ) to simplify the feather animation.
to move the wings i have just used rotate layer and created ‘only’ two different kind of feather.
i have created the background wing (‘aile arriere’ caps in the sifz) copying the first wing, that an error ! who make the background wing’s feather go in the wrong side… but… i share that exemple to encourage you to do better than my buggy work… could be easy in this case