2D animation - Pencil, Inkscape and Synfig

Ricardo,

Just out of curiousity. If you had to name one aspect you found annoying/limiting as a first time Synfig user, and a second as a more experienced Synfig user, what will these two be? What simple things (in your estimations) can be done to make people more efficient and effective with Synfig? A complete redesign of the GUI is unlikely, just as new/other forms of animation, but smaller more specific problems might be solvable…

G.

Hi Gerco,

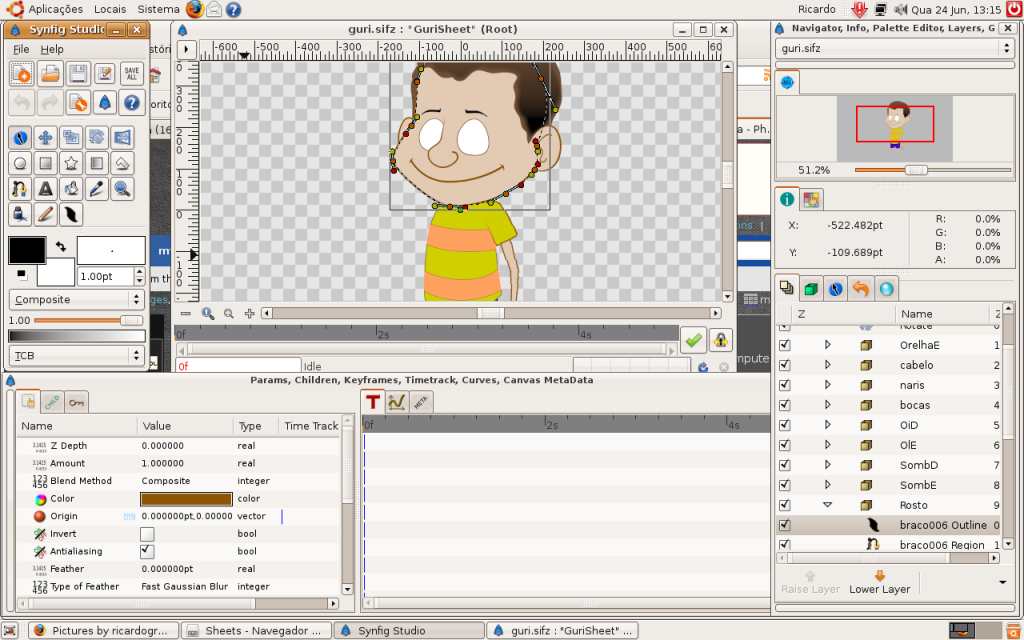
Well, as a first time Synfig user; I got scared about the low performance playback ( when we test it with basic shapes it’s ok, but when we work with characters we find a big trouble because we can’t see our animation running well to refine it ); the second scare was how the controls work; we need to create then with layer options ( zoom, rotate and translate ), this is not common, we usually see these controls with the objects when we import or create then. It’s time consuming.

Now that I am more experienced with Synfig, I think that the playback performance in the workwindow is the big problem. It’s difficult to test the “timing” of the animation. The character animation is not so accurate as it should be with a short time of work. I need to construct animation, test it with the preview ( too slow! ), and then rebuild, and then again the “preview”, rebuild, “preview”… It’s time consuming!

Some complex animations I am building with Pencil 2D and then vectorizing it with Inkscape, and then importing to Synfig a Image list of the frame-by-frame animation. And this is one more idea to synfig, to have the possibility to create frame-by-frame drawings. If you know anime studio, it has a good solutions for this: we could have a kind of layer ( just an idea as it is in anime studio ), that let us draw frame by frame drawings, pointing the timeline to the time we want the new frame; and all of this drawings are stored inside of this layer.

And sure, we need the audio track! Without the audio track we can’t compose an animation with dialogs or a final edit of a scene.
I am building the scenes with Synfig and editing then inside of Blender ( using the sequence editor ). Remembering that, this animation has no dialogs.

Another feature I forgot to mention to Genete is the “Animation Field Guides” , I Have a Bitmap file here that I use as a referende, but I think that the soft could come with then: take a look at these sample: http://www.animationpost.co.uk/novice_notes/field-sizes.htm

I agree with you that the user interface is not the problem for me now, I know how to work with Synfig very well; I have tested all the features and discovered all the limitations to work well with it, but we must agree that when we have our first look at it , we get scared.
Let’s wait for the OpenGL feature to see if we have a better performance.

I’l keep going here. Today I am in the middle of the first frame-by-frame character animation…it’s time consuming and too hard, but the result is going fine. ( Pencil 2D and Inkscape ).

Thanks for the interest!

I “finished” ( some adjustments needed ) the first frame-by-frame animation yesterday late at night:

And here the avi file:

I just posted here to show you a frame-by-frame sequence. It’s a different effect from cut-out animation; that’s why I use both techniques.

Just a simple question: Is there a way to create drop shadows with Synfig? I am creating the drop shadow effect by duplicating the encapsulated layer of the animation and then applying the color adjustment layer + rotate layer + stretch layer; it works, but… could be better.
Any help?

Thanks.

There isn’t automatic drop shadow. That’s basically the way it is.
-G

BTW, Ricardo, maybe this thread is interesting for you:

-G

There is shade with behind blend mode

Yeah! but at the moment you cannot rotate or shear that shadow. It would be a good feature though!
-G

Hi Genete,

This is a nice solution for image exchange in a animation; I like it, but I really did not understand how you did it. When I whant to exchange a hand pose as you did, I just use the “constant” option with keyframe and change the “amount” of two imagens, one to 1 and the other to 0. But the way you did seems faster. I´ll try to digg it, but if you can tell us how you did it… will be fine.

I would do a small tutorial when I have a little of more time. Oh man, lots of things TODO!
:smiley:

-G

Ok, Genete, after our chat in the IRC channel… I´ll try and if I really get it, with your permissions; giving you the credits, I can post here the step-by-step process. I didn´t have the time to try it yet, but after our chat, I copied and pasted the text to a note file.

I think that the process is not dificult ( I really understood all the steps you wrote ), but it is very powerfull and the animation process seems to be faster. Congratulations to you!!! Nice solution!

I´ll try this with the new animation this week and keep you informed about it.

Thanks again!

For drop shadows, you can experiment with a Shade layer composited ‘behind’. You’ll find it under Stylize in the layer menu. It’s not very flexible, but it may help in some cases??

Chris

Ok pixelgeek, I´ve already tested; yes it works, but with limitations. When I need a perspective shadow ( as you can see in the image of the boy ) I need to duplicate the layer containing all the character animation, put it under the first one and then apply:color adjustment layer + rotate layer + stretch layer…but thanks anyway!!

Well, it is a 2D animation package, right?
No free lunches or shadows here! :wink:

G.

Sorry, I was apparently sleeping when reading through the thread…

Today, early, I talked with Genete about the Synfig tools; and I mentioned that I did some drawing tests with tablet for the short movie; Well I did not use this file, so…I decided to share it with you, first the screenshots:


And here the synfig file:
http://www.4shared.com/file/113896764/ae8c648a/guri.html

Ok folks! I´ll keep going.

Ricardo, I have a small suggestion:
The ‘corpo>tronco>tronco>tronc’ outline should be over both ‘tira’ paste canvases. Remember that outlines can be placed anywhere in the layer hierarchy and they still connected to its region.

This is the result:
Captura de pantalla-6.png

The rest looks great!
-G

Thanks a lot Genete! I didn´t know that!
I am working hard here! This weekend I´ll post the news about the short movie.

Cool!

G.

Hey guys, I could not post in the weekend; I was too busy!! Yesterday a little progress, I’ve made a window opening ( only one window, there’s another one ). The technique was:

  1. I modeled the window in blender ( about 20 minutes of work )
  2. I animated the window opening in blender ( only two keyframes = a ) open…b) close … about two minutes of work )
  3. I’ve imported the first frame ( rendered with blender ) and the last one frame into synfig; then I’ve traced the window in the open state, then I created a second keyframe in synfig adjusting the waypoints to the close state.
  4. I needed to built an in between keyframe for a good movement.
    …total time of work = 1 hour and twenty minutes of work.

Here, the screenshots:


I did built two curves ( blines ) as a reference to create the in between keyframes ( that’s because a window opens as an arch )


Here, the blender reference( rendered frames ):


Well, I’ll try to work more this week ( the last one was unproductive ).